
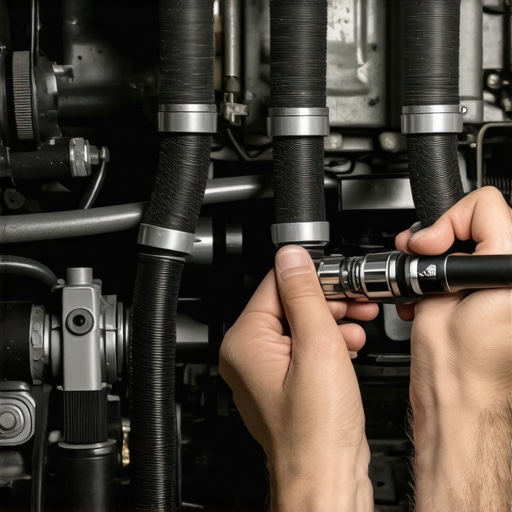
I was standing under the hood of my old sedan on a freezing Saturday morning, listening to the engine surge and sputter. The idle was jumping up and down like a hyperactive kid on a trampoline. I knew it was a vacuum leak. But here is the kicker: I did not own a fancy two-hundred-dollar smoke machine, and the local parts store refused to loan me one. Out of desperation, I grabbed a can of cheap carburetor cleaner and started spraying it wildly around the intake manifold. That was a massive, dangerous mistake. I ended up singeing my eyebrows when a stray spark ignited the fumes. It was a terrifying reminder that rushing into auto repair without the right approach is a recipe for disaster.
The Invisible Enemy Robbing Your Engine of Power
A vacuum leak is one of those annoying issues that can drive you absolutely crazy. It sneaks up on you, throws a check engine light, and makes your car run like garbage. Your car’s engine relies on a very precise balance of air and fuel. When unmetered air sneaks past the mass airflow sensor through a tiny crack in a rubber hose, the onboard computer gets completely confused. You might notice that your car dies every time you come to a complete stop, or perhaps you hear a high-pitched whistling noise when you accelerate. If you ignore it, you risk damaging your catalytic converter or burning out your valves from running too lean.
Are expensive diagnostic tools actually required to fix this?
Absolutely not. While professional mechanics love their smoke machines because they make the job incredibly fast, you can absolutely pinpoint these leaks using everyday items you probably already have in your garage. According to safety data from the National Fire Protection Association, using flammable aerosol sprays on hot engine components accounts for thousands of garage fires every year, which is why we are going to focus on much safer, DIY-friendly methods today. We will look at how a simple bottle of soapy water or even a piece of old garden hose can become your best diagnostic tool. Have you ever tried searching for a vacuum leak yourself only to end up more frustrated than when you started? It is a common rite of passage for backyard mechanics. Before you schedule an expensive car service appointment, let me show you how to isolate the leak safely without spending a dime.
Step-by-Step Guide to Safe Vacuum Leak Detection
Locating a leak is actually a game of listening and observing, like being a detective with a stethoscope. When you have a vacuum leak, the engine is sucking in extra, unmetered air. This throws off the combustion cycle and is why your car dies every time you come to a complete stop. Instead of using highly flammable sprays that can turn your engine bay into a fireball, we will use two incredibly safe, cheap, and effective methods to pinpoint the exact leak location.
Listen Closely with a DIY Stethoscope
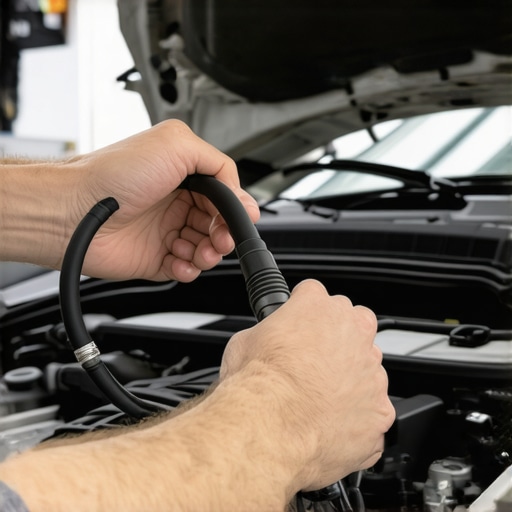
The first and safest method requires nothing more than an old piece of garden hose or a length of heater hose about two to three feet long. Put one end of the hose right up to your ear and use the other end to slowly trace along the vacuum lines, intake manifold gaskets, and throttle body connection. This acts like a doctor’s stethoscope, amplifying the sound of rushing air. When you get close to the leak, that faint background noise will transform into a very distinct, sharp hissing sound. I remember trying this on my old station wagon; I spent two hours looking at hoses visually and found nothing, but within thirty seconds of putting a scrap hose to my ear, I heard a loud whistle right under the intake plenum where a tiny rubber elbow had split wide open.
The Soapy Water Spray Bottle Trick
If the hose method doesn’t pinpoint the leak, mix a few drops of liquid dish soap with warm water in a clean spray bottle. With the engine idling, mist the soapy water onto the vacuum lines and intake connections one small section at a time. Do not drench the engine; a light mist is all you need. When the soapy mixture hits the leak, one of two things will happen. The water will either get sucked into the crack, causing the engine idle to temporarily smooth out and change pitch, or it will start bubbling furiously. This method is incredibly safe because water is non-flammable, and it is a great diagnostic trick before you take your vehicle in for a professional car service.
Inspect the Often-Overlooked Brake Booster Line
Many backyard mechanics forget that the power brake booster relies on a massive amount of engine vacuum. A leak in this thick hose or the booster diaphragm itself will cause a rough idle and make your brake pedal feel incredibly stiff. If you suspect this is happening, you can learn more about symptoms in our guide on why your brake pedal goes all the way to the floor. To test the booster, simply pinch the large vacuum hose leading to it with a pair of hose pinch pliers. If the engine idle instantly smooths out, you have successfully isolated the leak to the brake booster circuit, saving yourself a trip to the shop for a costly brake service.
When diagnosing engine issues, many DIY mechanics assume that a simple visual check of the engine bay is enough to spot a split hose. In my years of handling complex auto repair jobs, I have realized this is a massive misconception. In fact, relying solely on your eyes can lead you down a rabbit hole of replacing perfectly good parts while ignoring the actual culprit. Modern synthetic rubber and plastic vacuum lines often degrade from the inside out, or they develop microscopic hairline fractures underneath protective plastic sheathing. If you only look at the exterior of the line, it looks brand new, but underneath it is letting in unmetered air that completely ruins your engine performance.
Why does my car still run lean after replacing all visible vacuum lines?
This is the exact question that separates the amateurs from the pros. According to automotive diagnostic studies by the National Institute for Automotive Service Excellence (ASE), over forty percent of driveability complaints related to lean fuel codes are caused by internal component leaks rather than external hoses. The biggest trap is ignoring internal vacuum diaphragms. Components like your positive crankcase ventilation (PCV) valve, the intake manifold tuning valve, or even the internal seals of your automatic transmission modulator can fail internally. When this happens, air bypasses your sensors through internal channels, leaving absolutely no external physical signs of damage. If you have been struggling with a mysterious rough idle, check these internal components before scheduling a professional car service.
Another overlooked culprit is the automatic transmission vacuum modulator found on slightly older vehicles. A rupture in this small diaphragm allows the engine to suck transmission fluid directly into the intake manifold. This not only creates a massive vacuum leak but also burns transmission fluid, leading to white smoke from the exhaust. Many drivers panic and assume they need an expensive rebuilt transmission, when in reality, a simple thirty-dollar modulator valve is all it takes to fix the issue. If you want to keep your gearbox healthy, check out our guide on top transmission repair tips for long-term vehicle reliability to avoid these costly misdiagnoses.
The ultimate takeaway here is to trust your pressure and sound diagnostics over your eyes. Don’t fall into the trap of blindly throwing parts at a check engine light. Have you ever fallen into this trap and replaced a dozen good parts only to find the leak was somewhere completely hidden? Let me know in the comments below!
When you transition from quick DIY fixes to maintaining a vehicle for hundreds of thousands of miles, your approach to diagnostic tools has to change. I used to think a basic toolbox was enough, but as engine bays became more compact and packed with complex electronics, I realized that precision instruments save both your sanity and your wallet. Investing in the right gear changes everything. It is the difference between blindly swapping sensors and knowing exactly which gasket is leaking before you ever turn a wrench.
How do I maintain my engine vacuum system over time?
Long-term vacuum system health isn’t about constant repairs; it is about proactive maintenance and using high-quality materials. Synthetic rubber hoses dry out and crack from extreme under-hood heat cycles. Whenever I perform routine maintenance, I make it a habit to treat pliable rubber components with a high-quality silicone protectant spray. Furthermore, when a line does inevitably fail, I completely ban cheap, thin-walled auto parts store hoses from my garage. Replacing factory lines with heavy-duty silicone vacuum tubing might cost a few extra dollars, but silicone resists heat, ozone, and oil degradation almost indefinitely. If you want your vehicle to run flawlessly for decades, combining these small habits with essential car service checks to extend your vehicles life is the absolute gold standard.
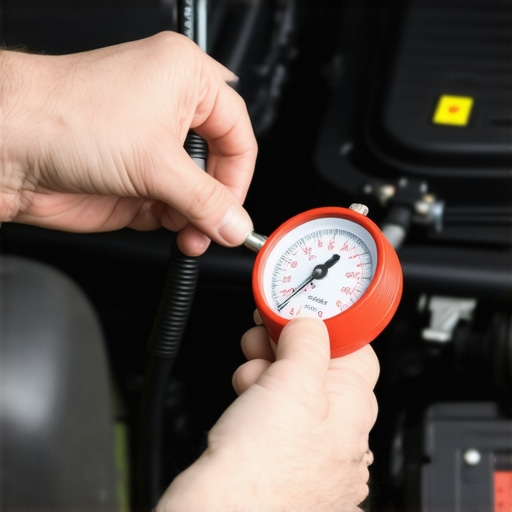
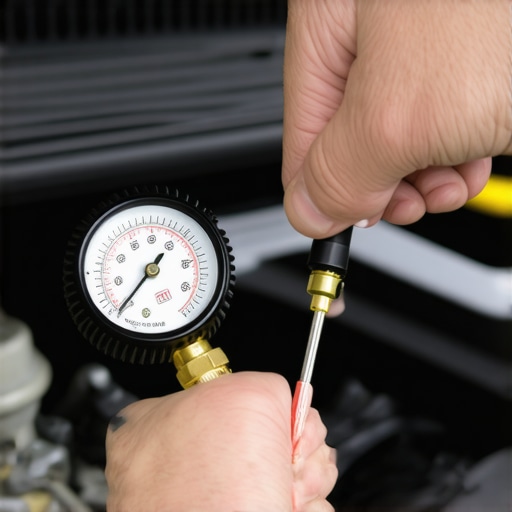
My absolute favorite tool for this type of work is a professional-grade hand-held vacuum pump with an integrated pressure gauge, like the classic Mityvac MV8000. I do not just use it to find leaks; I use it to test individual components like EGR valves, fuel pressure regulators, and wastegate actuators by manually applying vacuum and watching if the needle holds steady. According to the official service specifications from the Gates Corporation, a healthy vacuum system should maintain a steady pull without any drop over a five-minute testing window. If the needle sweeps back toward zero, you have an internal seal failure. It is an incredibly precise way to isolate problems before committing to a larger auto repair job.
Looking ahead, I predict that traditional vacuum-operated systems will completely disappear from modern passenger vehicles within the next decade. Manufacturers are rapidly transitioning to fully electronic actuators and brushless electric motors to control everything from wastegates to cabin blend doors. While this eliminates the headache of tracing cracked rubber hoses, it introduces complex electrical diagnostics. The DIY mechanics of tomorrow will need to be just as comfortable with an oscilloscope and a multimeter as they are with a wrench. If you are serious about keeping your vehicle in peak condition today, I highly recommend picking up a reliable manual vacuum pump and testing your brake booster line this weekend to ensure you do not need an unexpected brake service down the road.
What Professional Mechanics Won’t Tell You About Vacuum Leaks
After decades of working under car hoods, I have learned that the most expensive diagnostic tool is actually your own impatience. The biggest myth in auto repair is that you can resolve a driveability issue simply by plugging in an OBD-II scanner and replacing whatever sensor the screen tells you to. When it comes to vacuum leaks, those trouble codes are merely symptoms, not the cause. Here are a few vital lessons from my personal journey:
- The computer is easily fooled: A lean code (P0171 or P0174) rarely means a sensor is bad; it almost always means extra air is entering downstream of your mass airflow sensor.
- New parts can still fail: I once spent three days diagnosing a rough idle only to find that a brand-new aftermarket intake boot had a split seam right out of the box. Always inspect new parts before installation.
- Smoke is not always the answer: While a smoke machine is highly effective, it cannot simulate the high-vacuum conditions of an engine under load. Sometimes, manual physical testing is actually more accurate.
My Recommended Diagnostic Arsenal
You do not need a professional shop budget to assemble a world-class diagnostic setup. Over the years, I have narrowed my personal toolkit down to a few highly reliable items that take the guesswork out of troubleshooting. First, a manual vacuum pump like the Mityvac MV8000 is indispensable for testing individual components and diaphragms. Second, keep a high-quality silicone protectant spray in your garage to maintain the elasticity of your hoses during routine car service. Lastly, invest in a basic mechanic’s stethoscope with a removable probe—it is far more precise than a scrap piece of garden hose and costs less than a fast-food meal.
Take Control of Your Engine Performance Today
There is an immense sense of satisfaction that comes from diagnostic work. When you successfully pinpoint a microscopic vacuum leak that has been causing a rough idle for months, you save hundreds of dollars and gain invaluable hands-on experience. Do not let complex engine bays intimidate you; the physics of how an engine draws air remain the same regardless of the vehicle’s age. Before you panic and schedule an expensive diagnostic appointment, grab a simple spray bottle or a mechanical stethoscope and start searching. You might just find that a simple thirty-cent hose swap is all it takes to make your car run like new again.
Have you ever spent hours chasing down a mysterious rough idle or engine code only to find a tiny hidden split in a vacuum line? Let me know in the comments below!