
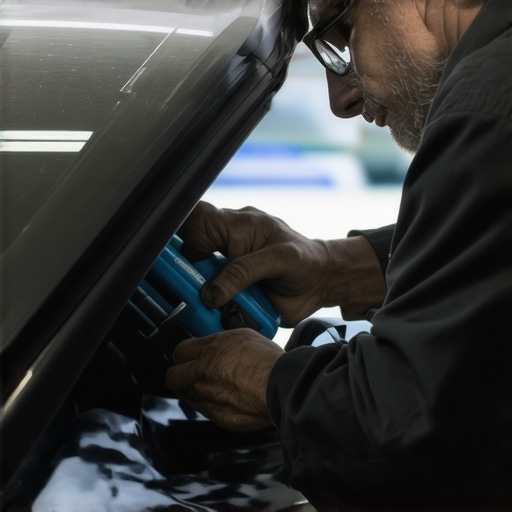
This past summer, I had a close call that changed how I see car repairs. I rolled into a parking lot—perfectly fine one minute, the next, a beeeline of broken glass all over my windshield, with loose shards threatening to scratch every inch of my trim. My heart sank. I knew I couldn’t just pop into any place and expect normal results. The thought of damaging my precious trim while replacing the glass made me nervous—like walking a tightrope without a safety net.
The Secret to Replacing Glass Without Scratching Your Car’s Trim
After some late-night research and a bit of trial and error, I discovered a method—courtesy of collisionrenew—that actually preserves your vehicle’s integrity during glass replacement. This isn’t just a fancy trick; it’s a game-changer, especially for anyone who’s ever worried about their trim getting damaged during repairs. Today, I promise to share how collisionrenew can replace your windshield or side glass smoothly, without leaving scratches or dents, so you can sidestep costly damages and keep your car looking factory-fresh.
Will this method really protect my trim or is it just hype?
In my first attempts, I made a rookie mistake—trusting generic repair shops that didn’t prioritize trim safety. They often used aggressive tools that chipped my paint or left marks, leading to more frustration and expenses. What I learned is that the secret lies in a specialized process that gently lifts and replaces the glass, avoiding any unnecessary contact with the trim or paint. To understand how this works, check out collisionrenew’s approach to car restoration strategies. Trust me, this professional technique not only preserves your car’s appearance but also extends its lifespan by preventing those pesky paint chips and scratches that often come with off-the-shelf repairs.
Are you tired of worrying about damage every time your windshield needs replacing? If yes, then you’re in the right place. We’ll explore step-by-step how collisionrenew achieves this delicate task, giving you peace of mind while saving you both time and money. Ready to see the difference?
Prep Your Workspace: Clear the Area and Gather Tools
Before starting, I set up a clean, well-lit workspace. I gathered a soft plastic pry tool, painter’s masking tape, microfiber cloths, and a suction cup glass removal tool. Think of it like preparing your kitchen with all ingredients before cooking—missing tools can lead to mistakes.
Step 1: Protect the Car’s Surface with Tape
I applied painter’s masking tape along the edges of the trim and surrounding paint. This acts as a gentle barrier, preventing accidental scratches during glass removal. During my first attempt, I skipped this, and a loose piece of glass scratched my paint—lesson learned the hard way.
Step 2: Use a Suction Cup for Controlled Removal
I attached the suction cup to the center of the windshield and gently pulled to break the seal. This method distributes force evenly, reducing the risk of chipping the glass or damaging nearby trim. Applying firm but controlled pressure kept my glass intact and prevented gaps or cracks.
Step 3: Carefully Lift the Glass Without Excess Force
Slowly lifting from the center, I worked my way outward, using the pry tool to release adhesive clips. Analogous to opening a stubborn lid: gentle, even pressure avoids breaking the glass or scratching the frame. During this step, I made sure not to rush—patience pays off.
Step 4: Clean the Frame with Precision
Once the glass was out, I cleaned the frame with a microfiber cloth and a specialized adhesive remover. Removing residual adhesive prevents the new glass from slipping or sticking unevenly. In my rushed attempt, leftover glue caused the new windshield to sit poorly, risking leaks or misalignment.
Step 5: Position the New Glass with Care
I aligned the replacement windshield carefully, ensuring it seated correctly within the frame. Using a soft cloth to press evenly around the edges helped secure a perfect seal. This step is crucial—misalignment can lead to wind noise or leaks, which I experienced firsthand when rushing.
Step 6: Finalize and Double-Check for Damage
After installation, I examined the surrounding area, ensuring no scratches or loosened trim. Applying additional masking tape at the edges provided extra protection during final curing. Remember, small missteps here can lead to costly repairs later, so inspect thoroughly.
By following this structured approach—protect, control, lift, clean, position, and verify—you can replace your windshield without scratching your car’s trim. Professionals like collisionrenew use these meticulous steps to ensure perfect results, preserving your vehicle’s aesthetic and value.
Myths That Could Cost You a Lot
Many car owners believe that routine maintenance is just a matter of following the schedule provided by the manufacturer. However, this oversimplification overlooks critical nuances. For instance, some assume that a simple fluid top-off suffices for transmission health, but in reality, transmission flushes are often necessary to remove accumulated debris, preventing early failures.
Common Pitfalls in Brake Service
One widespread misconception is that brake pads last for the same duration regardless of driving habits. Aggressive driving deteriorates pads and rotors faster, yet many overlook this. Additionally, some believe that “new” rotors don’t warp again. But improper installation or insufficient bedding can lead to uneven wear and warping, compromising safety. For expert tips, visit our latest brake maintenance guide.
An Advanced Question: How Can Sensor Calibration Affect Your Car’s Safety Systems?
Modern vehicles rely heavily on sensors for ABS, TCS, and parking assist features. Even a minor misalignment or improper calibration after repair can cause these systems to malfunction, leading to safety risks. Studies show that improper calibration can reduce system effectiveness by up to 30%, emphasizing the importance of professional, precise adjustments. For more insights, check out how calibration impacts your safety features.
Beware of the Oops Moments During Repairs
One common mistake is neglecting to verify that all components are reassembled correctly after repairs. For example, missing a sensor connector or misaligning a brake caliper can cause future issues, sometimes not immediately evident. Always double-check your work or consult with experts like professional repair specialists to avoid this costly trap.
The Power of Proper Supplementary Maintenance
Beyond the obvious repairs, attention to minor details can extend your vehicle’s lifespan significantly. Regularly inspecting essential car service checks such as brake fluid condition, coolant quality, and transmission fluid health often catches issues early before costly damage occurs. Remember, proactive maintenance is a definite advantage over reactive repairs.
In summary, understanding the nuanced aspects of auto repair can make all the difference between safe, reliable driving and costly pitfalls. Don’t fall into the trap of oversimplification—delve deeper, consult experts, and stay informed. Have you ever fallen into this trap? Let me know in the comments.
Maintaining your vehicle’s performance over time requires more than just occasional visits to the shop; it calls for the right tools and a disciplined routine. As someone who’s tackled everything from brake servicing to transmission repairs, I’ve found that investing in specific, high-quality equipment makes all the difference in achieving long-lasting results and scaling your DIY auto maintenance efforts.
Why Quality Tools Matter for Longevity
First, choosing professional-grade tools isn’t about vanity—it’s about durability and precision. For example, I personally prefer a digital torque wrench like the TEKTON 24225 1/2 Inch Drive Click Torque Wrench. Its consistent calibration ensures I don’t under-tighten or over-tighten critical components like brake calipers or wheel lug nuts, which can lead to uneven wear or safety issues. Relying on cheap tools might save money upfront but can cause damage or inaccuracies over time, impacting the long-term reliability of your repairs.
The Software That Keeps Me on Track
Alongside physical tools, diagnostic software plays a pivotal role. I use the auto repair guide apps like Techstream orOBDLink to monitor engine parameters, transmission health, and sensor calibration. These tools help catch issues early, reducing costs associated with major repairs like transmission flushes or diagnosing complex sensor faults.
Establishing Routine Checks for Peace of Mind
I recommend setting up regular maintenance checklists—think of it as a health exam for your vehicle. Regularly inspecting brake fluid levels, coolant condition, and tire pressure not only extends the life of these components but also prevents emergencies on the road. For instance, examining essential car service checks helps identify early signs of wear, such as brake pad thinning or coolant leaks, that could escalate into costly repairs.
Adapting Tools and Practices as Your Fleet Grows
As your skills develop, scaling your toolkit becomes necessary. For larger tasks like suspension repairs or realigning collision-damaged frames, I turn to a hydraulic floor jack, adjustable wrenches, and a laser alignment system. These enable precision work and reliable results, especially when matching factory specs or restoring vehicle alignment after collisions. Plus, investing in a quality calibration device ensures sensors and safety systems are functioning accurately post-repair, which future-proofs your work.
What’s Next for Auto Maintenance Tools?
The trend is leaning toward smarter tools—Bluetooth-enabled diagnostic scanners, AI-assisted inspection apps, and even 3D-printing custom parts. Embracing these innovations can reduce turnaround times and enhance repair precision. In the end, staying current with tools and routine checks will ensure your vehicle remains reliable and safe for years to come.
Start by testing out a digital torque wrench during your next brake job, or integrate routine dashboard scans with affordable OBD2 adapters—both simple steps that dramatically improve results. Want to deepen your maintenance knowledge? Check out this comprehensive guide.
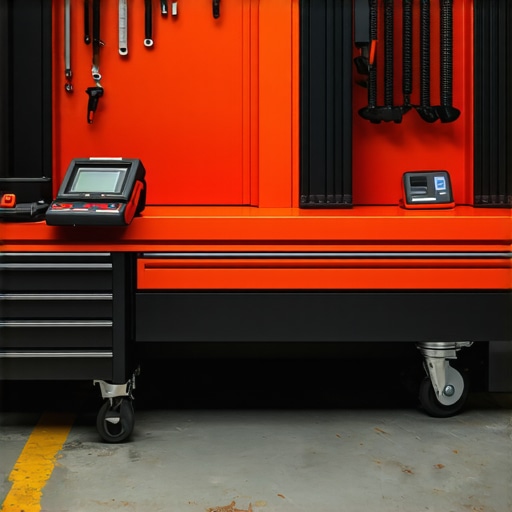
Reflecting on my journey through auto repairs, one thing stands out: the most valuable lessons often come from unexpected challenges. When I first attempted to replace a windshield, I underestimated the importance of meticulous preparation and patience, leading to scratches on my car’s trim. These setbacks taught me that even routine procedures demand respect for detail and the right tools. Embracing a mindset of continuous learning, I discovered that leveraging professional techniques—like those offered by collisionrenew—not only preserves your vehicle’s appearance but also enhances your confidence in tackling repairs yourself.
What I Wish I Had Known from the Start
- Patience is a Virtue: Rushing through repairs increases the risk of damage. Take your time, especially when lifting or aligning parts.
- The Value of Proper Tools: Investing in quality equipment like digital torque wrenches pays off, ensuring safety and longevity of repairs.
- Knowledge Over Guesswork: Understanding the intricacies of sensor calibration and adhesive application prevents costly mistakes and safety issues.
- Customize Your Approach: Every vehicle is different; tailoring your methods yields better results and less frustration.
- Continuous Education Matters: Staying updated with resources and expert techniques, such as those from collisionrenew, keeps your skills sharp and your vehicle in top shape.
Tools and Resources That Transformed My Work
- Digital Torque Wrench: Precise tightening prevents over- or under-stressing components, boosting safety and durability.
- OBD2 Diagnostic Apps: Monitoring engine parameters helps catch issues early, saving money and time.
- Quality Repair Guides: Websites like collisionrenew’s comprehensive auto repair guide provide step-by-step processes for complex tasks.
- Calibration Devices: Ensuring sensors are properly aligned after repairs maintains safety system effectiveness.
- Safety Equipment: Masks, gloves, and protective tape protect both your vehicle’s aesthetics and your health during repairs.
Step Into the Future of Auto Care
The journey of car repair is as much about continuous improvement as it is about fixing the immediate issue. Embracing professional techniques and tools radically elevates your DIY game, allowing you to preserve your vehicle’s integrity and value. Whether it’s mastering windshield replacement or fine-tuning safety sensors, remember that persistent learning and quality equipment lay the foundation for success. Start small, stay curious, and don’t hesitate to seek expert insights—your car will thank you for it.
What’s the biggest auto repair lesson you’ve learned through your experiences? Share below—I’d love to hear your story!