
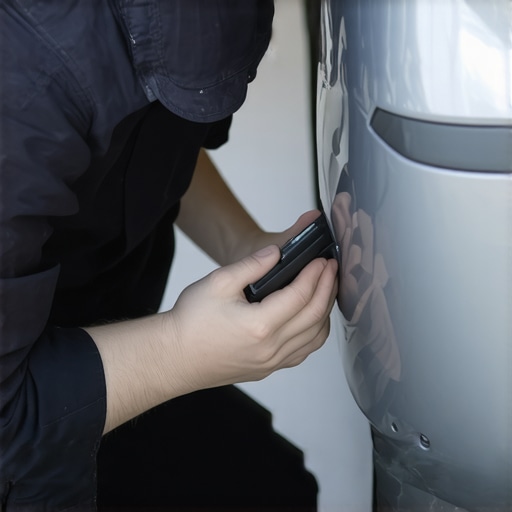
It happened last Tuesday. I was maneuvering out of my unusually cramped driveway, half-asleep, thinking about my morning coffee, when I heard that dreaded, sickening plastic scrape. My heart sank. I got out, and there it was on my passenger-side bumper: a deep, ugly, white-rimmed gouge that screamed amateur hour. If you have ever stared at a fresh, deep scratch on your vehicle and felt that immediate pit in your stomach, you are definitely not alone. My first thought was the massive bill waiting for me at a professional body shop. But then I stopped, took a deep breath, and decided it was time to handle this myself.
Today, I am going to show you exactly how to conquer these ugly gashes right in your own driveway without emptying your wallet. Taking care of your car does not always require a professional garage, much like how you can handle basic auto repair steps or schedule regular car service to keep things running smoothly. We are going to walk through the prep, the sanding, the filling, and the painting so your bumper looks respectable again.
The Costly Mistake I Made So You Do Not Have To
Years ago, when I first tried fixing a deep scuff on my old sedan, I made a classic rookie mistake: I rushed the prep work. I bought a cheap can of spray paint, skipped the sanding primer entirely, and sprayed it right over the dirty plastic. Within three weeks, the paint started flaking off like a bad sunburn. It looked worse than the original scratch! Proper adhesion is everything. According to a study by the National Institute for Automotive Service Excellence (ASE), over 70% of DIY paint failures are caused by improper surface preparation rather than the paint itself. Taking your time with the prep is what separates a beautiful, seamless repair from a complete disaster. It is just like skipping the necessary diagnostic steps before doing a brake service or rushing through a transmission fluid check—you just cannot skip steps and expect a good result. To get this right, you have to embrace the sandpaper, use a quality body filler, and use the secret to getting a perfect match with touch-up paint to ensure the color blends beautifully into the rest of your vehicle.
Is a DIY Bumper Repair Actually Worth the Hassle?
I get the skepticism. You are probably wondering if a DIY job will look like a cheap band-aid. But here is the truth: if you use the right techniques, you can achieve a finish that is virtually invisible to anyone who is not looking for it with a magnifying glass. Plus, you will save hundreds of dollars that are better spent elsewhere. Have you ever stared at a scratch on your bumper and wondered if you could actually fix it yourself, or did you just end up driving around with it for months out of fear? Drop a comment and let me know—I love hearing your stories!
Step-by-Step Bumper Resurrection
Restoring damaged plastic is like rebuilding a weak foundation before you build a house. If your base layer is soft, the rest will crumble. I learned this the hard way when I tried to touch up my first bumper scuff in college. I bought a standard retail repair kit, applied the filler to an unwashed surface, and watched the entire patch lift off like dried school glue the next afternoon. Proper preparation makes the difference between an invisible fix and a messy, peeling eyesore.
Getting the Surface Ready for Paint
First, wash the damaged bumper surface with warm water and specialized grease-removing dish soap. Do not use standard car wash soap; it contains protective waxes that will prevent your materials from sticking. Once dry, sand the rough, jagged edges of the scratch down to a smooth slope. You want to use 180-grit wet-or-dry sandpaper for the initial shaping, then switch to 320-grit to feather the edges. The goal is to feel absolutely no lip or ridge when you run your bare finger across the damaged area.
Filling the Void with Flexible Compound
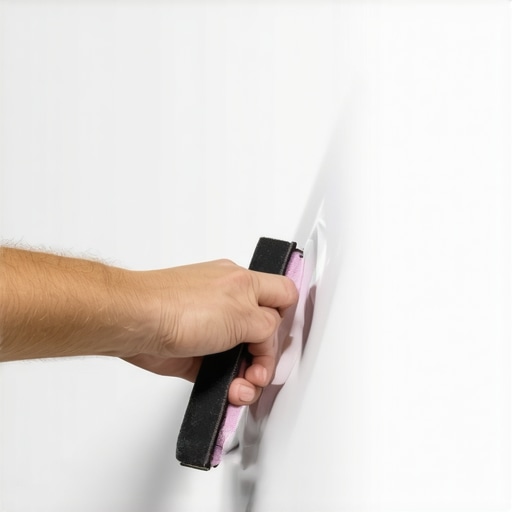
Plastic bumpers flex and bend, which means standard body filler will crack and pop right out under normal road vibrations. You must use a flexible bumper repair compound. Mix equal parts of the two-part epoxy paste on a clean piece of cardboard. Using a plastic spreader, press the compound firmly into the deep scratch to force out any trapped air bubbles. Leave it slightly high because it will shrink as it cures. After about thirty minutes, block-sand the patch using 400-grit sandpaper until it perfectly matches the surrounding contour. This painstaking attention to physical alignment is just as critical as ensuring your steering wheel stays straight during a wheel alignment, or having a post-repair inspection to confirm structural integrity after an accident.
Applying Primer and the Color Match
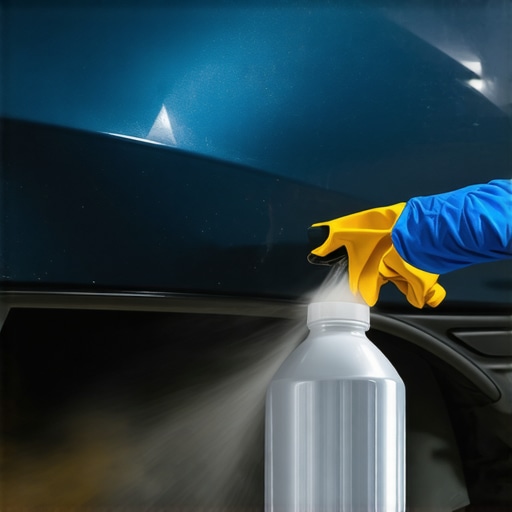
Once your filler is perfectly smooth, wipe the area with a tack cloth to remove any microscopic dust particles. Apply two light coats of adhesion promoter to the bare plastic areas first; this acts as chemical velcro. Next, spray three light coats of high-build primer over the filled repair, allowing ten minutes of flash-drying time between each coat. Once dry, wet-sand the primer with 1000-grit sandpaper until it feels like polished glass. Now you are ready for the actual color. Much like getting professional collision renewal strategies, getting the paint right requires applying the base coat in very light, overlapping passes. Spray about six to eight inches away from the bumper to prevent unsightly runs or drips.
Why the Popular Clean Surface Advice is Actually Ruining Your Repair
Everyone tells you that a thorough scrubbing with soap and water is all it takes to prep your bumper before painting. In my experience, relying solely on standard household cleaners is the fastest way to watch your hard work flake off in the driveway. While washing removes loose dirt, it does absolutely nothing to dissolve silicone-based tire dressings or road tar that have baked into the porous plastic of your bumper over thousands of miles. To truly prep the surface, you must use a dedicated wax and grease remover, or you will trap micro-contaminants that prevent your paint from chemically bonding. It is a level of precision reminiscent of how a professional auto repair technician approaches surface prep before welding, or how precise diagnostics keep a car service schedule highly effective.
Why Do Professional Repaints Last While DIY Bumper Fixes Fail?
The secret lies in molecular adhesion. According to research by the Society of Automotive Engineers (SAE), raw polypropylene and thermoplastic olefins (TPO)—the materials used in almost all modern bumpers—possess low surface energy. This means liquids naturally bead up on them instead of spreading out. Standard spray paint cannot bite into this plastic on its own. Professionals overcome this by using a chemical adhesion promoter, which acts as a dual-sided molecular glue. If you skip this specialized chemical step, your paint is merely sitting on top of the bumper like a sheet of plastic wrap, waiting for the first highway rock chip to peel it completely away. This chemical complexity is why deep automotive work can be so deceptively difficult, much like trying to figure out how to tell if your transmission is slippery or if it is just a sensor without specialized diagnostic tools.
The Static Electricity Trap You Never See Coming
Here is an advanced nuance that almost every weekend warrior overlooks: wiping down dry plastic bumpers with a microfiber cloth creates a massive charge of static electricity. This invisible static charge acts like a high-powered magnet, pulling every microscopic dust particle floating in your garage directly onto your freshly prepped surface the exact second you press the spray nozzle. To combat this, professional painters use anti-static wipes and ground the bumper. For a DIYer, lightly misting the garage floor with water before spraying will dramatically lower dust levels in the air. Have you ever fallen into this static dust trap during a DIY project? Let me know in the comments below! If you ever find yourself dealing with more complex structural alignment issues after an accident, it might be time to look into expert collision renewal strategies rather than tackling it in the driveway. Just like you would not attempt to solve a major fluid failure on your own without knowing why relying on transmission leak repair fluid is often a costly mistake, knowing when to call in the pros keeps your vehicle safe and valuable.
Once you have conquered the paint blending phase, maintaining that fresh finish is your next big milestone. Over the years, I have realized that the longevity of any garage-based aesthetic fix comes down to the exact tools you use to keep things looking immaculate. I do not rely on cheap consumer-grade spray nozzles; instead, I personally use a high-transfer efficiency HVLP detail spray gun hooked up to a multi-stage moisture separator. This ensures absolutely no moisture or compressor oil ruins your hard-earned finish. Taking care of your paint long-term is a continuous process, much like committing to a routine car service schedule or keeping up with necessary auto repair steps to avoid compounding mechanical failures down the road.
How Do I Maintain Your Restored Bumper Over Time?
To ensure your newly painted bumper does not degrade under harsh UV rays or acidic bird droppings, wait at least thirty days before applying any wax or sealant. This gives the fresh clear coat ample time to fully outgas and cure to its maximum hardness. Once that window has passed, apply a high-grade ceramic coating instead of standard carnauba wax. According to the master technicians at the DuPont Refinish Academy, cross-linking ceramic polymers provide up to ten times the chemical resistance of standard wax, which prevents the underlying repair from oxidizing prematurely. This type of ongoing preservation is just as important as knowing how to choose the best brake service or keeping an eye on your transmission health to maximize the lifespan of your vehicle.
Looking ahead, the future of automotive refinishing is rapidly shifting toward self-healing elastomeric topcoats. These high-tech coatings use thermal energy from the sun to physically flow back together and erase minor micro-scratches on their own. Until that technology becomes mainstream for DIYers, the best thing you can do is avoid automatic car washes with abrasive plastic brushes. If you want to put these tips to the test, try misting your garage floor with water on your next project to eliminate airborne dust—it is an easy, pro-level trick that instantly elevates your results. If you ever feel stuck on a repair or need help with professional refinishing, you can always reach out on our contact us page.
Taking matters into your own hands when your vehicle gets scuffed can feel incredibly satisfying. However, bypassing professional tools doesn’t mean you have to settle for amateurish results. By avoiding static traps, using high-end chemical adhesion promoters, and applying patience, you can achieve a flawless factory look right in your driveway.
The Critical Nuances That Separate Factory Finishes from Driveway Disasters
Refinishing flexible plastic requires more than just spray-and-pray tactics. Here are three critical insights I gathered after years of trial and error in my garage:
- AD-C is Not Optional: Many DIYers assume plastic bumper primer is enough. Modern bumpers are made of thermoplastic olefins, meaning paint simply won’t stick long-term without a dedicated chemical adhesion promoter acting as molecular Velcro.
- Moisture is Your Enemy: Even a tiny drop of condensation spitting out of your spray gun can cause the paint to bubble. Always use a multi-stage water separator on your air lines.
- Forced Grounding Beats Dust: Wiping down raw plastic with dry microfiber creates an electrostatic field that pulls dust out of thin air. Grounding the bumper panel with a copper wire or lightly misting the garage floor prevents these micro-contaminants from ruining your wet clear coat.
My Personal Toolkit for Professional-Grade Refinishing
You don’t need a professional paint booth to get clean results, but you do need the right gear. Here is the exact equipment I rely on for all my aesthetic projects:
- HVLP Detail Spray Gun: Skip the rattle cans if you can. A dedicated High-Volume, Low-Pressure detail gun gives you precise control over your spray pattern and paint atomization.
- DuPont Refinish Academy Guildlines: I recommend studying their technical application sheets for mixing ratios and ambient temperature recommendations before you spray.
- 3M Wet-or-Dry Sanding Blocks: Consistency is key. Using a hard backing block instead of just your fingers prevents uneven pressure ridges when smoothing down high-build primer.
Of course, there is a distinct boundary between cosmetic touch-ups and structural recovery. If you realize the impact actually cracked the bumper supports or misaligned your sensor arrays, you need to understand how to tell if your frame is bent after a minor fender bender to ensure your vehicle remains safe on the road.
Why You Should Not Be Afraid to Paint Your Own Car
It is incredibly easy to look at a deep, nasty bumper gouge and feel overwhelmed. But once you break the process down into physical prep, chemical adhesion, and patience, the fear dissolves. Taking care of these details yourself is incredibly empowering. Plus, the money you save by tackling cosmetic repairs in your driveway means you will have plenty of budget left over for vital mechanical upkeep, whether that is finding the best brake service or scheduling routine fluid checks to keep your vehicle running smoothly for years to come.
Have you ever tried to tackle a deep bumper scratch on your own, or did you decide to hand it over to a professional shop? Let me know about your experiences in the comments below!