
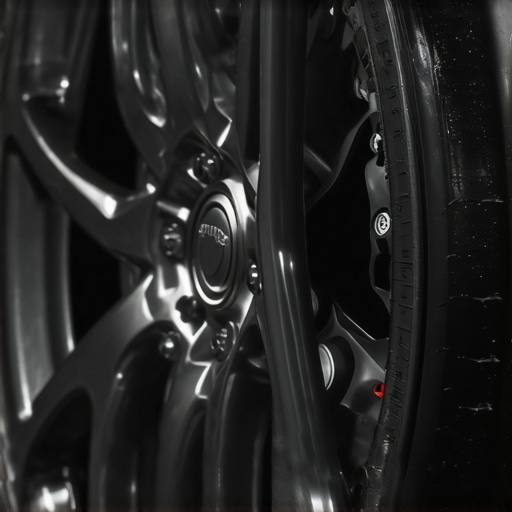
I remember sitting in my driveway, staring at my front left tire, absolutely dreading the idea of breaking out the jack. It was a Saturday, the sun was beating down, and I just knew my brakes were getting thin. But the thought of unbolting everything just to take a peek? I talked myself out of it. “It’s probably fine,” I told myself. Big mistake. Two weeks later, that faint “maybe” sound turned into a full-blown metal-on-metal scream that cost me three times more than a simple pad swap because I chewed right into the discs. If I’d just spent five minutes looking through the wheel spokes, I could have saved a fortune on essential auto repair work.
Stop Guessing and Start Looking Through the Spokes
Let’s be real for a second: nobody actually enjoys the process of lifting a car unless they have a fancy hydraulic lift in a climate-controlled garage. For the rest of us working in driveways or on the street, we need a faster way to stay safe. I’m going to show you exactly how to eyeball your pad thickness without ever touching a lug nut. It’s about working smarter, not harder, and avoiding that heart-sinking moment when you realize why your brake rotors warp so easily—usually because you let the pads get down to the backing plate. Most modern vehicles have enough gap between the rim spokes that you can see the caliper assembly quite clearly if you know where to aim your light.
Is it actually possible to get a reliable reading without a lift?
I used to be a total skeptic. I thought unless you had a micrometer and the wheel off, you were just guessing. I was wrong. Early in my DIY days, I once missed a completely worn inner pad because I only looked at the outer one through the rim. It was a rookie move that taught me the value of a good flashlight and a specific angle of attack. According to data from the National Highway Traffic Safety Administration, brake-related issues are a significant factor in mechanical-failure accidents, so getting this right actually matters for more than just your wallet. Have you ever put off a brake check just because you didn’t want to deal with the physical labor of taking the wheels off? Knowing what to look for—and more importantly, how to see the “hidden” parts of the brake assembly—is the difference between a quick afternoon fix and a tow truck at midnight. Whether you’re trying to decide if you need to choose a professional brake service or if you can squeeze another month out of your current set, you need a clear visual. Let’s get into the nitty-gritty of how to position your head to see exactly what’s left of your stopping power.
Grab Your Phone and Shine a Light
You don’t need a professional workshop or a heavy floor jack to get a status update on your stopping power. I once tried to use a tiny keychain light in a dark grocery store parking lot and completely missed a massive crack in my pad material because I couldn’t see the edges. Now, I use my smartphone’s flashlight and the camera’s zoom function. It basically turns your phone into a digital endoscope. By sticking your phone right up against the wheel spoke and using the screen to see around corners, you can get a better view than if you were kneeling on the asphalt.
Look for the ‘Sandwich’ Between the Metal
When you are peering through those gaps, you’re looking for a three-layer sandwich. The rotor is the big, shiny metal disc. The caliper is the heavy metal clamp. The brake pad is the ‘filling’ squeezed in between them. A brand-new pad is usually about 12mm thick. If that filling looks thinner than two stacked quarters (about 3mm or 1/8th of an inch), you are on borrowed time. I remember a specific Saturday where I ignored a pad that looked ‘mostly okay’ only to realize later it was the cause of a nasty vibration. Catching this early is one of those essential car service checks to extend your vehicles life.
Don’t Fall for the Outer Pad Trap
This is the mistake that almost cost me a caliper. I checked my outer pads through my alloy rims and they looked meaty, so I assumed I was good for another 5,000 miles. I was wrong. The inner pad—the one closest to the engine—was wearing twice as fast because of a seized slide pin. If you notice why your car pulls toward the side of the road when braking, it’s often because one side of the ‘sandwich’ is doing all the work. To see the inner pad without removing the wheel, turn your steering wheel all the way to the lock (left or right). This angles the caliper so you can see the back side of the assembly through the wheel well. If the inner pad is significantly thinner than the outer one, you’ve got a mechanical issue that needs more than just new friction material.
Read the Surface of the Rotor Like a Map
While you’re focused on the pads, don’t ignore the rotor. It should look like a smooth, polished mirror. If you see deep concentric circles—kind of like the grooves on a vinyl record—that’s a sign of ‘scoring.’ I once found a pebble wedged into my pad that had carved a canyon into my rotor. This damage is often the reason your car squeaks every time you get in and out or why you feel a pulse in the pedal. If you see a blueish tint or dark spots, the metal has overheated and ‘glazed,’ which ruins your stopping distance. Checking this now helps you how to identify a bad wheel bearing before your hub grinds, as excessive heat from a dragging brake can actually cook the grease inside your wheel bearings. Keep your eyes peeled for any ‘lip’ or ridge at the very outer edge of the disc; if it’s sharp enough to catch your fingernail, that rotor is likely too thin to be safely machined and will need a full replacement soon.Everyone tells you to wait for the high-pitched ‘chirp’ of a wear indicator before you worry about your brakes, but in my experience, waiting for the noise is a fool’s errand. Modern high-performance ceramic pads are designed to be incredibly quiet—sometimes too quiet. I have seen countless DIYers pull apart a brake assembly that was dead silent, only to find that the pad material had crystallized from excessive heat, losing its ability to stop the car effectively. If you are pushing your vehicle through heavy traffic or mountain passes, you need to look past the surface and consult the ultimate guide to auto repair to understand how heat cycles change the friction chemistry of your pads. The ‘oops’ factor here is relying on your ears when your eyes should be doing the work. Relying on a sensor that might be corroded or a squealer tab that might have snapped off is a recipe for a collision. 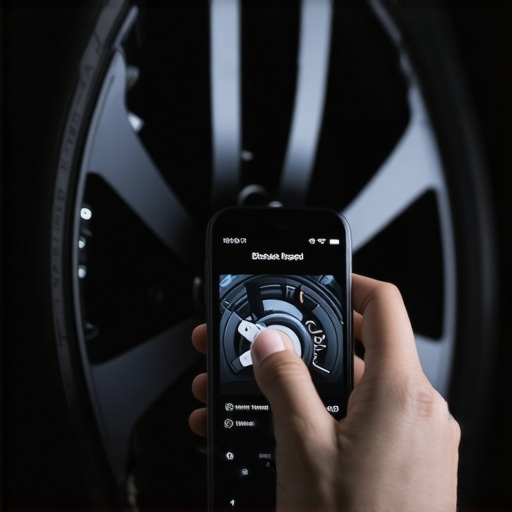
Why Your Transmission Hunts for Gears at Highway Speeds
It is a nuance most people skip, but your braking system and your drivetrain are actually teammates. Sometimes, what feels like a slight brake drag or a rotor vibration is actually a symptom of a gearbox struggle. If your car feels ‘confused’ while you are maintaining a steady pace, you should learn how to diagnose a transmission that hunts for gears at cruising speeds. Heat is the common enemy here; a sticking caliper can create enough drag to make the engine bog down, forcing the transmission to downshift unnecessarily. According to a study by the AAA Foundation for Traffic Safety, nearly 25% of drivers neglect these subtle mechanical signs until they become catastrophic failures. Don’t be part of that statistic. You must look at the vehicle as a holistic machine. Ignoring top transmission repair tips while only focusing on your brake pads means you are only seeing half the picture. Another major trap is noticing why your brake fluid level drops without a visible leak and simply topping it off. This is a mistake. In a sealed system, a drop in fluid usually indicates that your pads are so thin the caliper pistons are extended to their limit, ‘drinking’ up the reservoir’s volume. By just adding more fluid, you are masking the most reliable wear indicator you have. Have you ever fallen into this trap of fixing the symptom instead of the source? Let me know in the comments.
If you’re tired of playing the guessing game with your smartphone camera, I highly recommend picking up a set of telescopic inspection mirrors and a dedicated brake lining thickness gauge. These aren’t expensive—you can get a decent set for under twenty bucks—but they provide the kind of precision that prevents you from second-guessing your safety. I personally keep a brake fluid moisture tester in my glovebox. Most people forget that brake fluid is hygroscopic, meaning it absorbs water from the air. Over time, that water lowers the boiling point of the fluid, which can lead to brake fade during an emergency stop. It’s one of those essential car service checks to extend your vehicles life that often gets overlooked by even the most diligent owners.
Stop Fumbling and Get a Dedicated Inspection Tool
I’ve found that using a 10mm-indexed gauge is the only way to be 100% sure about my wear patterns. When I see that my outer pad is at 6mm and my inner is at 4mm, I don’t just shrug it off; I know it’s time to grease those slide pins. If you ignore these tiny discrepancies, you’ll eventually need to look into top transmission repair tips because your drivetrain is working overtime to fight the resistance of a dragging brake. As noted in the technical documentation from Brembo, maintaining the integrity of the hydraulic system is just as vital as the friction material itself because even the best pads can’t overcome a vapor-locked line. This is why I always check my fluid quality every six months, regardless of mileage.
How do I maintain my braking performance over hundreds of thousands of miles?
The secret isn’t just buying the most expensive parts; it’s about consistency and cleanliness. Every time I have the wheels off for a rotation, I use a stiff wire brush to knock the brake dust off the caliper clips. This prevents the pads from getting ‘stuck’ in their brackets. Furthermore, you need to pay attention to your suspension. If you aren’t sure how to tell if your shocks are bouncing too much, your brakes will actually wear faster because the tires aren’t maintaining consistent contact with the road, forcing the ABS system to kick in more often. Looking ahead, I suspect we will see more integrated electronic wear sensors that sync directly to our phones, but for now, your eyes and a few simple tools are your best defense.
Don’t forget that after any major work or even a minor fender bender, your car’s geometry might be off. This is where collision renewal strategies come into play to ensure everything is square. If your frame is slightly out of alignment, your brakes will never wear evenly, no matter how many times you replace them. My advice? Grab a moisture tester today and check your reservoir. If it’s green, you’re good; if it’s red, you’re looking at a system flush. Take five minutes this weekend to do a proper visual inspection of your inner pads—it’s the single best way to avoid a surprise repair bill.
Lessons from a Driveway Mechanic Who Learned the Hard Way
Over the years, I’ve realized that the most expensive repairs usually start as small, visual warnings we choose to ignore. One major lightbulb moment for me was realizing that brake dust isn’t just a nuisance; it’s a diagnostic tool. If one front wheel is significantly dirtier than the other, you likely have a sticking caliper that’s chewing through your pad material. Another thing I learned is never to trust a ‘quiet’ car. Just because you don’t hear a squeal doesn’t mean you aren’t down to the metal, especially with modern ceramic compounds. Finally, always check your brake fluid reservoir; if you notice why your brake pedal sinks slowly while you are sitting at a light, you’re dealing with a hydraulic pressure loss that no amount of pad thickness can fix.
A Few Tools to Keep You Out of the Repair Shop
You don’t need a professional setup, but these three items changed the game for my home inspections:
- Telescopic Inspection Mirror: This is the secret to seeing the ‘inner’ pad without turning the steering wheel to full lock. It’s a lifesaver for checking the back of the rotor for scoring.
- Color-Coded Thickness Gauges: These take the guesswork out of the ‘sandwich’ method. If the red blade fits, you’re done. If the green one fits, you’re golden.
- High-Lumen Penlight: Your phone light is good, but a dedicated penlight helps you spot the specific texture of glazing or heat spots on the rotor surface.
#IMAGE_PLACE_HOLDER_E#
Using these helps you stay on top of essential car service checks to extend your vehicles life without needing a mechanic’s hourly rate.
Stay Safe and Save Your Wallet
Taking those few minutes to peek through your spokes isn’t just about saving money on a professional brake service; it’s about the peace of mind that comes from knowing your car will stop exactly when you need it to. Whether you’re commuting to work or heading out on a road trip, being proactive is the ultimate form of car care. Don’t wait for a warning light or a scary noise to act. Grab your flashlight this weekend and take a look. Have you ever caught a brake problem just in time by doing a quick visual check? Let me know in the comments below!