
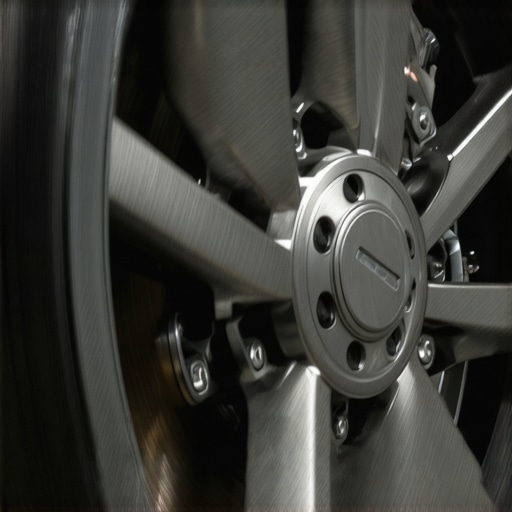
I remember the first time it happened to me. I was cruising down a long, winding hill on a hot summer afternoon, light pressure on the brake pedal, and suddenly it felt like a jackhammer was trying to punch through the floorboard. My heart skipped a beat. I actually gripped the steering wheel so hard my knuckles turned white, convinced my front tires were about to go their separate ways. For weeks, I just lived with it, convincing myself that it was just ‘character’ or maybe a bit of road debris stuck in the caliper. That was a huge mistake. Eventually, that little shimmy turned into a violent shudder that made my dashboard rattle. I felt like a failure as a car guy because I let a simple fix turn into a safety hazard. Today, I am going to help you figure out exactly why your car is throwing a tantrum every time you try to slow down, and more importantly, how to make it stop so you can drive in peace again.
Get Rid of the Jackhammer Feeling in Your Foot
When your pedal starts pulsing, your car is basically sending you a telegram that something in your braking system is no longer flat or round. Most people assume it is a ghost in the machine, but it is almost always physical wear. In my early days of tinkering, I once spent three hours cleaning my rims with a toothbrush because I thought a bit of dried mud was throwing the balance off. Spoiler alert: it wasn’t. The real issue was much deeper, and ignoring it only made the repair bill grow. We are going to dive into the physics of why metal warps and how you can check your brake pads without taking the wheels off to see if you are dealing with uneven wear. If you are feeling that pulse, you are not alone, but you definitely shouldn’t wait until the shaking moves into your steering wheel or your car pulls toward the side of the road when braking. Understanding these essential car service checks is the best way to keep your vehicle on the road for the long haul. According to the National Highway Traffic Safety Administration (NHTSA), brake-related issues are a factor in roughly 2% of all motor vehicle crashes, making this more than just an annoyance—it is a safety priority.
Is this repair going to drain my bank account?
This is the question I get from neighbors every time they hear a squeak or feel a vibration. The fear of a four-figure mechanic bill is real, but here is the good news: catching a vibrating pedal early usually means you only need to replace the rotors and pads, rather than the entire braking assembly. If you wait, the vibration can actually shake your suspension components loose, leading to even more expensive problems. If you aren’t ready to do it yourself, you should definitely look into how to choose the best brake service so you don’t get overcharged for work you don’t need. I have seen it a dozen times, and often the culprit is exactly why your brake rotors keep warping every few months, which often comes down to driving habits or low-quality parts. Have you noticed your pedal vibrating more when the car is hot, or is it happening every single time you tap the brakes? Let’s break down the most common causes so you can talk to a mechanic—or your own toolbox—with confidence.
Stop Guessing and Measure the Run-out
To fix a vibrating pedal, you have to stop thinking of your brakes as just chunks of metal and start thinking of them as precision instruments. Think of your brake rotor like a vinyl record. If that record has a tiny wobble or a speck of dust on the turntable, the needle jumps. On your car, that ‘needle’ is the brake pad, and the ‘jump’ is what you feel in your foot. Most people immediately blame ‘warped’ rotors, but often it is actually uneven pad deposits—basically, bits of brake pad material that have fused to the rotor unevenly, creating microscopic speed bumps. Before you throw money at new parts, you need to determine if the issue is a physical bend in the metal or just a dirty surface. If the shaking only happens at higher speeds, you should check why your car vibrates specifically when you hit 65 mph to ensure it isn’t an unbalanced tire masking as a brake problem.
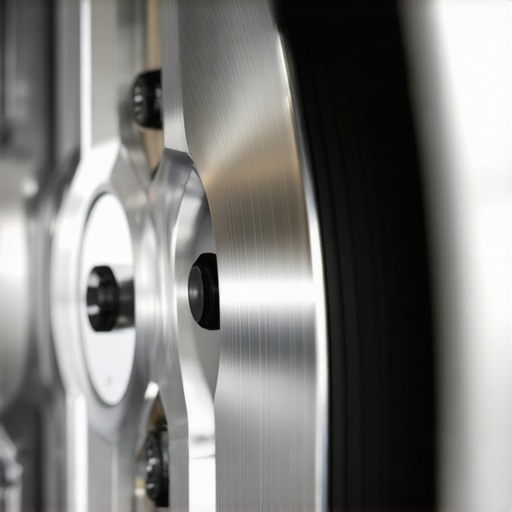
Scrub the Hub Until It Shines
I learned the importance of cleanliness the hard way on my old commuter car. I once threw on a pair of high-performance rotors and brand-new pads, thinking I was a pro. Three weeks later, the shake was back. I was furious, assuming I’d bought ‘duds.’ When I pulled it all apart, I found a tiny, crusty flake of rust—barely the size of a fingernail—trapped between the rotor and the wheel hub. That tiny speck caused the rotor to sit at a microscopic angle, creating ‘lateral run-out.’ I had to buy new rotors all over again because I was too lazy to use a wire brush the first time. Now, I tell everyone: you must scrub that hub surface until it looks like polished silver. Use a wire brush or a hub cleaning kit to remove every bit of corrosion before the new rotor touches the car. This is a core part of the ultimate guide to auto repair keep your car running smoothly.
Identify if Your Rotors Are Actually Warped
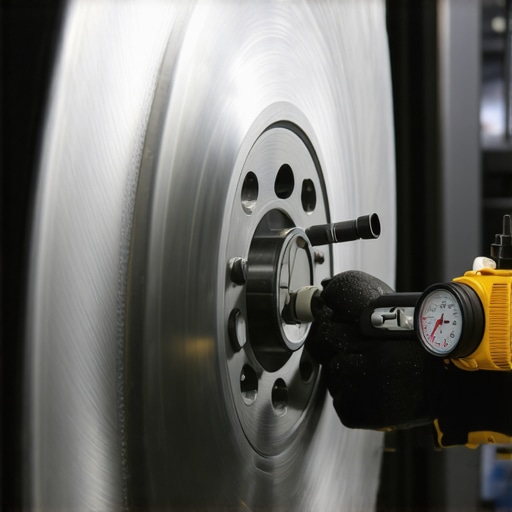
If you have a dial indicator, you can actually measure the run-out yourself. Anything over .002 to .005 inches of movement as you spin the rotor is enough to cause that jackhammer feeling. If the metal is physically distorted, you have two choices: have them ‘turned’ (resurfaced) at a shop or replace them. However, if your rotors look healthy but feel terrible, you might just have spots of ‘cementite’ or uneven pad transfer. You can sometimes fix this by performing a series of aggressive stops to ‘re-bed’ the pads, essentially sanding the rotor face clean with friction. It’s also worth investigating how to tell if your wheel bearing is failing or if its just road noise, because a loose bearing can allow the entire rotor to tilt, mimicking a warp.
Why You Should Never Skip the Bedding Process
Once you install new parts, you can’t just drive off into the sunset. You have to ‘mate’ the pads to the rotors through a process called bedding. This involves making several controlled, near-stops from 45 mph to 10 mph in quick succession without letting the brakes cool down. This transfers an even layer of pad material onto the rotor surface. If you skip this, you’re almost guaranteed to feel that vibration again in a few months. Taking these extra steps is what separates a DIY hack from a professional-grade repair, much like the precision found in collision-renewal-strategies-restoring-your-car-to-perfection. If you still feel a pull after the fix, revisit the reasons why your car pulls toward the side of the road when braking to rule out a sticking caliper or a collapsed brake hose.
Stop Blaming High Temperatures for Every Rotor Problem
Let’s get one thing straight: the term ‘warped rotors’ is one of the biggest misnomers in the auto repair industry. Most drivers think their rotors have literally bent like a piece of vinyl in the sun, but that is rarely the case. In my years under the hood, I’ve found that the real culprit is a chemical transformation rather than a structural bend. When you hold your brakes down hard after a high-speed stop, the pads can leave a ‘footprint’ of material on the rotor. Over time, this patch turns into cementite—an incredibly hard carbon-iron compound. It’s not that the rotor is bent; it’s that it now has a microscopic mountain on it. According to engineering insights from the Society of Automotive Engineers (SAE), what we call ‘warpage’ is usually Disc Thickness Variation (DTV) caused by this uneven material transfer. If you’ve ever wondered why your brakes feel spongy even after bleeding the lines, it might be because the system is fighting these chemical irregularities rather than simple air bubbles.
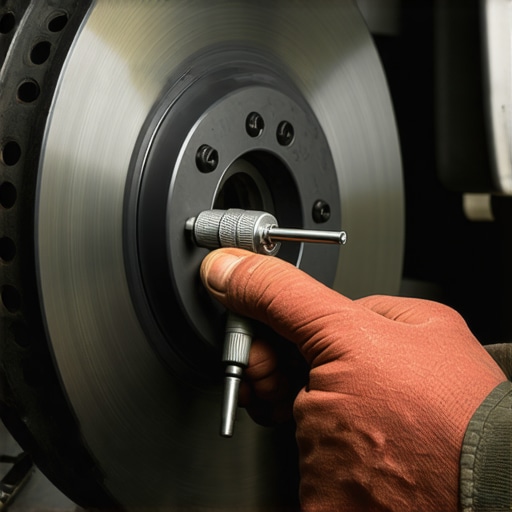
Is Your “Warped” Rotor Actually a Chemistry Problem?
Yes, it usually is. This is where the ‘oops’ factor comes in for most DIYers and even some professional shops. They focus entirely on the rotor and forget the caliper slide pins. If those pins are even slightly seized or bone-dry, the caliper won’t ‘float’ correctly. This means one pad is constantly dragging against the rotor, creating the exact heat signature required to build up those cementite deposits. You can spend a fortune on the best parts, but if you don’t use the right high-temp grease on those pins, you’re just throwing money away. This is a crucial step often missed in essential car service checks to extend your vehicles life. I once saw a guy replace his entire front-end suspension because he thought he had the hidden culprit behind a vibrating gas pedal, only to realize his cheap slide pins were just stuck.
The Five-Dollar Part That Ruins a Five-Hundred Dollar Brake Job
Ignoring the hardware is the most common mistake I see. Most people buy the pads and the rotors but skip the ‘installation kit’ which includes new clips and high-quality lubricant. Over time, brake dust and road salt turn that lubricant into glue. When the pad can’t move freely, it vibrates against the rotor even when you aren’t braking, leading to that annoying ‘shudder’ when you finally do hit the pedal. This nuance is why professional the ultimate guide to auto repair keep your car running smoothly emphasizes cleaning every moving surface. If you don’t, you’ll be back in the shop in three months wondering why the shake returned.
Distinguish Between Brake Shake and Transmission Shudder
Sometimes, that vibration isn’t your brakes at all. I’ve had customers come in convinced their rotors were shot, but the shaking only happened under light acceleration or while climbing a hill at 40 mph. That is a classic symptom of a torque converter shudder, not a brake issue. It feels almost identical to a brake pulse, but the timing is the giveaway. Before you tear your wheels off, you should investigate how to tell if your transmission is slipping or if its just a sensor. In these cases, why relying on transmission leak repair fluid is often a costly mistake becomes apparent; a chemical ‘fix’ won’t solve a mechanical vibration. Following top transmission repair tips for long-term vehicle reliability means looking at the whole picture, not just the part that’s shaking. Have you ever fallen into this trap and replaced parts that weren’t even broken? Let me know in the comments.
Don’t Guess When You Can Measure
If you really want to stop that vibration for good, you need to stop acting like a parts swapper and start acting like a technician. I never touch a brake job without my digital torque wrench and a dial indicator. Most DIYers think ‘hand-tight’ is a measurement, but unevenly torqued lug nuts are actually a leading cause of rotor distortion. If one nut is at 110 ft-lbs and the next is at 80, you’re literally pulling the rotor face out of alignment. This is why the ultimate guide to auto repair keep your car running smoothly emphasizes using a star pattern and a calibrated wrench. It’s a five-minute step that saves you a five-hundred-dollar headache later. I personally use a split-beam torque wrench because it doesn’t need to be turned back to zero after every use, making it the most reliable tool in my kit for consistent results.
How do I keep my brakes from vibrating again?
The secret isn’t in the pads; it’s in the hub preparation and the fluid. You need to treat the hub surface like a surgical field. Any microscopic debris trapped behind the rotor will cause lateral run-out, which leads to that dreaded pedal pulse. According to technical documentation from Brembo, even a 0.05mm variance at the hub can translate to a noticeable vibration at the steering wheel. Beyond cleanliness, you should be checking your fluid every year. Brake fluid is hygroscopic, meaning it absorbs water. This water lowers the boiling point and can cause internal corrosion in the calipers, leading to sticking. Staying on top of essential car service checks to extend your vehicles life includes a moisture test of your brake fluid. If you ignore this, you might eventually find that your brake pedal goes all the way to the floor because of a boiled-over or leaking system.
The Future of Stopping is Electric
We are moving into an era where the physical connection between your foot and the brake caliper is disappearing. Brake-by-wire systems are becoming the standard in EVs and high-end hybrids. In the future, diagnosing a vibration won’t just be about checking for warped metal; it will involve recalibrating software sensors that manage regenerative braking transitions. This shift makes it even more vital to know how to choose the best brake service, as your local shop will need advanced diagnostic tablets just as much as they need a floor jack. These systems are incredibly sensitive to mechanical drag, so the maintenance tips we discussed—like greasing slide pins—become even more critical to prevent the computer from throwing error codes.
Balance Your Entire Drivetrain
Remember that your brakes are part of a larger ecosystem. If you’ve replaced your rotors and still feel a slight shimmy, it’s time to look at the axles and the transmission. A worn CV axle can mimic a brake vibration under specific load conditions. I always tell people to check top transmission repair tips for long-term vehicle reliability because a shudder in the drivetrain can feel remarkably similar to a warped rotor. When you’re performing collision-renewal-strategies-restoring-your-car-to-perfection, you have to look at the car as a whole unit. Grab a wire brush, clean those hubs until they shine, and use a torque wrench for every single lug nut—I guarantee you’ll feel the difference on your next drive.
Real-World Truths About Shuddering Pedals I Learned the Hard Way
After years of skinning my knuckles, I’ve realized that the most expensive brake job is the one you have to do twice. I used to think I could save twenty bucks by skipping the hardware kit, but those tiny clips are what keep your pads from rattling like a bag of marbles. Another hard truth: your driving style matters just as much as your parts. If you ‘ride’ the brakes down a long descent instead of engine braking, you are inviting heat-related deposits to ruin your smooth ride. Lastly, never assume a new part is a perfect part. Even out of the box, checking for manufacturing defects like lateral run-out can save you from a massive headache later.
My Go-To Kit for a Vibration-Free Drive
You don’t need a professional shop to get professional results, but you do need the right gear. I always keep a high-quality split-beam torque wrench in my trunk because it’s the only way to ensure the lug nuts are tightened evenly, preventing rotor distortion. For deep cleaning, a simple corded drill with a wire-wheel attachment makes quick work of hub corrosion that would take an hour with a hand brush. I also highly recommend keeping the ultimate guide to auto repair keep your car running smoothly bookmarked on your phone; it’s a lifesaver when you’re elbow-deep in grease. If you’re feeling overwhelmed, reading up on how to choose the best brake service can help you find a partner who values precision as much as you do.
Reclaiming Your Braking Confidence
Driving shouldn’t be a stressful experience where you’re constantly bracing for the next vibration. When you take the time to clean the hubs, torque the bolts correctly, and bed the pads, you aren’t just fixing a car; you’re ensuring your safety and the longevity of your vehicle. Remember that staying consistent with essential car service checks to extend your vehicles life is the best defense against surprise repairs. You’ve got the knowledge now—it’s time to get out there and make that pedal feel like butter again. If you’ve also been worried about your gears, don’t forget to check top transmission repair tips for long-term vehicle reliability to keep the rest of your drivetrain just as smooth. Have you ever tried to ‘re-bed’ your brakes only to realize the problem was actually a stuck caliper pin? Let me know your DIY experiences in the comments below!