
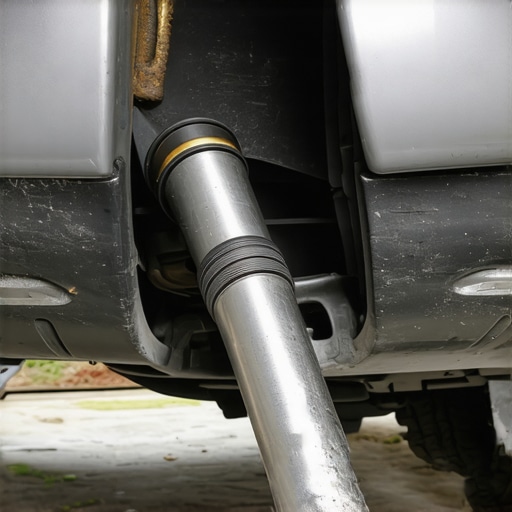
I’ll never forget the day my old truck decided to start its own percussion band right under my feet. Every time I idled at a red light, it sounded like someone was shaking a toolbox filled with loose change. I was convinced my transmission was about to drop onto the pavement, and I even started looking up transmission repair tips just to prepare for the worst. But when I finally crawled under there with a flashlight, I realized the ‘catastrophe’ was actually just a flimsy piece of aluminum vibrating against the exhaust pipe because the bolt hole had rusted through. It was a classic heat shield rattle, and I felt like a fool for worrying so much. Today, I am going to show you how to silence that racket without ordering a single expensive OEM part from the dealership. [IMAGE_PLACEHOLDER]
Stop Throwing Money at a Noise You Can Fix in Your Driveway
Most people hear a metallic ‘ting-ting-ting’ and assume they need a brand-new exhaust system. I’ve been there. In my early days, I made the expensive mistake of replacing an entire shield because I didn’t think you could ‘repair’ thin aluminum. I spent sixty bucks and three hours fighting rusty bolts when I could have fixed it in ten minutes for about fifty cents. You don’t need a degree in mechanical engineering or a professional car service check to handle this. The problem is usually ‘galvanic corrosion’—a fancy way of saying the aluminum shield and the steel bolt don’t get along, causing the shield to rot away while the bolt stays put. According to the experts at the Car Care Council, heat shield failure is one of the most common sources of mystery rattles in high-mileage vehicles, often misdiagnosed as internal engine trouble. By using oversized fender washers, you’re basically giving that old shield a new, wider shoulder to lean on. It’s simple, it’s effective, and it saves your wallet from the ‘stealership’ tax. Have you ever been told you needed a major repair only to find out it was something small and loose?
Can a Few Washers Actually Replace a Hundred-Dollar Part?
I know what you’re thinking because I thought it too: ‘Is this just a band-aid that’s going to fall off next week?’ The answer is a resounding no. In fact, an oversized washer fix often lasts longer than the original setup because it covers more surface area of the fragile aluminum. While you’re under there, it’s also a great time to see how to fix a rattling exhaust without a welder if you notice other hangers are loose. Fixing a heat shield is part of keeping your car running smoothly without the constant anxiety of ‘what’s that noise?’ If your car is making other strange sounds, like a whistling noise at high speeds, it might be something else, but if it’s a metallic rattle at idle, the heat shield is your prime suspect. We’re going to walk through the process of securing it properly so you can go back to enjoying your music instead of listening to your undercarriage’s death rattle.
Don’t Roast Your Knuckles on a Hot Pipe
Before you go diving under the chassis with a wrench in hand, give your car at least an hour to cool down. Exhaust components hold onto heat like a cast-iron skillet, and you don’t want your first DIY win to end with a trip to the ER. Once it’s cool, jack up the car safely—never rely on the scissor jack that came with your spare tire—and use jack stands. This is actually a great window of opportunity to check your brake pads without taking the wheels off while you’re already peering into the wheel wells. Safety isn’t just about the jack; it’s about being observant.
Identify the Culprit with a Simple Tap
Once you’re underneath, look for those thin, silver-colored plates that wrap around the exhaust pipe or sit between the pipe and the floorpan. Take a screwdriver handle and lightly tap the shields. If one of them sounds like a loose soda can, you’ve found your ghost. Usually, the aluminum has simply corroded in a circle right around the steel bolt. The bolt is still there, holding onto a tiny ring of aluminum, while the rest of the shield is flapping in the breeze. If you’ve noticed your car shakes while idling at a stoplight, the vibration is likely hitting the resonant frequency of that loose plate, turning a minor wiggle into a deafening clatter.
Bridge the Gap with Oversized Fender Washers
The secret weapon here is the ‘fender washer.’ Unlike standard washers, these have a very wide outer diameter and a small center hole. They act like a snowshoe for your bolt, spreading the clamping force over a much larger area of the remaining healthy aluminum. I usually keep a pack of 1-inch and 1.5-inch stainless steel washers in my toolbox just for this reason. You don’t even need to remove the old, rusty bolt entirely if it’s seized. Often, you can just back it out a few turns, slide the oversized washer behind the head, and snug it back down. It’s a permanent fix for a temporary-sounding problem. 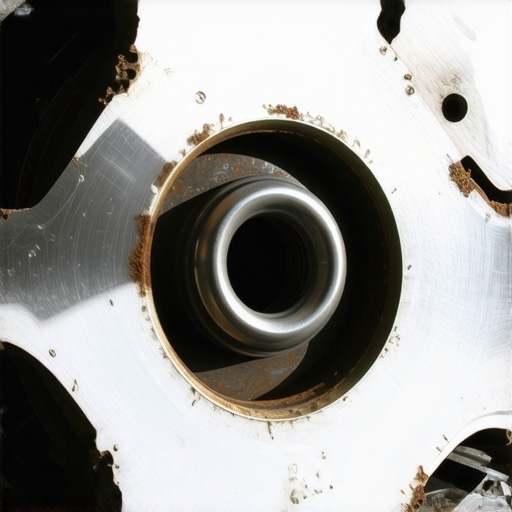
My Corolla’s Ten-Minute Salvation
I remember helping a neighbor with her old Corolla that sounded like a tractor. She was terrified that her transmission clunks when you move from drive to reverse were the sign of a dead car. When I got it on the stands, the mid-pipe heat shield was literally resting on the exhaust. The bolts were so rusted they looked like mushrooms. Instead of fighting those bolts and risking a snap—which would turn a ten-minute job into a three-hour nightmare—I used a pair of tin snips to make a small notch in the fender washers. I slid the ‘C-shaped’ washers behind the bolt heads and tightened them. The rattle vanished instantly. It wasn’t ‘textbook’ pretty, but it was effective and saved her a massive repair bill. This kind of hands-on troubleshooting is the core of keeping your car running smoothly.
Check for Other Clues While You Are Down There
While you are securing the shield, take a look at the rest of the undercarriage. If you’ve been feeling a strange sensation through your feet, it might not just be the shield; sometimes the hidden culprit behind a vibrating gas pedal is a loose bracket or an exhaust hanger that has dry-rotted. By taking those ten minutes to look around, you’re performing the kind of essential car service checks that prevent a small rattle from becoming a major mechanical failure. If you see fluid dripping from the front, it’s a different story, but for that annoying metallic ‘ping,’ the washer trick is your best friend.
It’s tempting to listen to the ‘old-school’ guy at the parts counter who tells you to just rip the shield off and throw it in the scrap bin. He’ll tell you it’s just for noise. He’s wrong. Modern cars are packed with plastic clips, fuel vapor lines, and sensitive electronics that aren’t designed to withstand the 1,000-degree radiant heat of a catalytic converter. Removing a shield is a shortcut that often leads to needing top transmission repair tips for long-term vehicle reliability much sooner than expected because heat is the number one enemy of transmission fluid and seals. According to the National Institute for Automotive Service Excellence (ASE), heat soak can degrade nearby rubber bushings and wiring insulation, causing mystery electrical gremlins that no scanner will ever catch. Have you ever fallen into this trap of ‘deleting’ a part rather than fixing it? Let me know in the comments.
Why Does the Noise Vanish When You Reach Highway Speeds?
It seems counterintuitive, right? If something is loose, you’d think it would rattle more at 70 mph. But physics works in funny ways. At idle, the engine’s low-frequency vibrations often match the natural frequency of a loose aluminum plate. Once you speed up, the airflow under the car actually pins the shield against the body or the exhaust, silencing it temporarily. This is why you might think the problem solved itself, only to have it return the moment you exit the ramp. It’s also why why your car vibrates specifically when you hit 65 mph usually points toward a wheel balance issue rather than a loose shield. If the sound is gone at speed but your car shakes while idling at a stoplight, you’re almost certainly looking at a resonance issue with a shield or a bracket.
Don’t Let Your DIY Fix Become a Fire Hazard
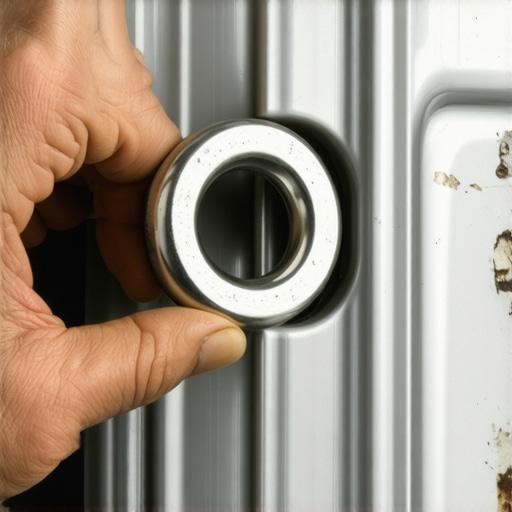
One major ‘oops’ I see DIYers make is using standard plastic zip ties to ‘snug up’ a shield. It seems like a quick fix, but those ties will melt in seconds, and if they drip onto your hot exhaust, the smell of burning plastic will have you panicking about an engine fire. Always stick to stainless steel hose clamps or those oversized washers we talked about. This is the difference between a hack job and the ultimate guide to auto repair: keeping your car running smoothly. If you’re already under there, check for other subtle signs, like why your transmission clunks when you move from drive to reverse, which could indicate that a mount is failing alongside the shield. Real expertise isn’t just about fixing the noise; it’s about seeing how that noise connects to the rest of the machine.
Grab a 1/4-inch torque wrench for the small stuff
Most DIYers fail not because they lack knowledge, but because they use the wrong scale of tool for the job. I’ve seen countless people snap a delicate heat shield bolt or a valve cover stud because they used a massive 1/2-inch drive wrench meant for truck wheels. When you are performing essential car service checks, finesse is your best friend. I personally use a CDI 1/4-inch drive torque wrench—it is the same internal mechanism used by high-end professional brands but costs a third of the price. Using the right tool ensures you aren’t creating more work for yourself by drilling out snapped bolts.
Why your OBD-II scanner is your new best friend
Gone are the days when you had to guess why a car was acting up. For about a hundred bucks, you can get a Bluetooth OBD-II scanner that links directly to your smartphone. I use mine to check live data on transmission temperatures, which is critical for top transmission repair tips for long-term vehicle reliability. If you see your temps spiking, it might be because a damaged heat shield is no longer protecting the casing. This kind of data-driven repair is where the industry is heading. In the next few years, I predict we will see more ‘digital twin’ apps that predict when a part will fail based on your specific driving habits. 
How do I maintain my car’s heat protection over time?
Consistency is the secret sauce. Every time you are under the car for an oil change, make it a habit to check the structural integrity of your thermal barriers. Look for how to tell if your CV axle boot is torn at the same time, because heat from the exhaust can actually cook the grease inside those boots if the shield is missing. According to the Automotive Aftermarket Industry Association (AAIA), vehicles that undergo regular undercarriage inspections last nearly 40% longer than those that only receive service when a warning light comes on. If you notice your car struggles to climb steep driveways, it might be heat-induced transmission slip, so keep those shields tight.
The future of garage repairs involves digital twins
We are moving toward an era where your car will tell you exactly what is wrong before you even hear a rattle. For now, we still rely on our eyes and ears. If you’re planning on keeping your ride for another decade, you need to think about choosing the best brake service in 2025 that uses ceramic coatings to mitigate heat transfer. Advanced heat management isn’t just for race cars anymore; it’s the key to keeping your car running smoothly as it crosses the high-mileage mark. Try this today: Grab a flashlight and inspect your exhaust hangers for dry rot. Replacing a five-dollar rubber hanger now can save your entire exhaust system from snapping later. Don’t wait for the clatter to start before you act.
Hard Lessons from My Years Under the Chassis
Over the years, I’ve learned that the smallest components often cause the biggest headaches. Galvanic corrosion is a silent killer for thin aluminum; even if the shield looks structurally sound, that tiny ring of rot around the steel bolt is all it takes to trigger a symphony of rattles. I also learned the hard way to never ‘delete’ a shield just because it’s annoying. I once saw a melted fuel vapor line on a project car because the owner thought the shield was optional—don’t make that mistake. Finally, remember that patience is a tool. Spraying penetrating oil on those rusty bolts the night before you start is the difference between a ten-minute victory and a three-hour nightmare involving a broken tap and die set.
The Toolbox Staples I Can’t Live Without
If you want to move beyond basic ‘hack’ repairs, you need a few specific items in your drawer. First, always reach for Stainless Steel Fender Washers. Zinc-plated ones are cheaper, but they will succumb to road salt in a single season, while stainless stays bright and strong. Second, a reliable 1/4-inch drive torque wrench is non-negotiable for keeping your car running smoothly without snapping delicate studs. I also highly recommend keeping a tube of Nickel Anti-Seize handy; it handles the extreme heat of the exhaust much better than the standard silver stuff. These small investments are the foundation of collision renewal strategies that actually last the life of the vehicle.
The Satisfaction of a Quiet Drive
There is a unique pride that comes from silencing a rattle for the price of a cup of coffee. It isn’t just about the money you saved by avoiding the dealership; it’s about the confidence you gain by knowing exactly what’s happening under your floorboards. Taking the time for essential car service checks transforms you from a mere driver into a steward of your machine. Whether you are searching for top transmission repair tips for long-term vehicle reliability or just trying to enjoy a peaceful commute, remember that most ‘major’ problems start as small noises you have the power to fix. Don’t be afraid to get your hands dirty—the silence is worth it. Have you ever found a simple ‘washer fix’ that saved you a fortune at the mechanic? Let me know in the comments below!