
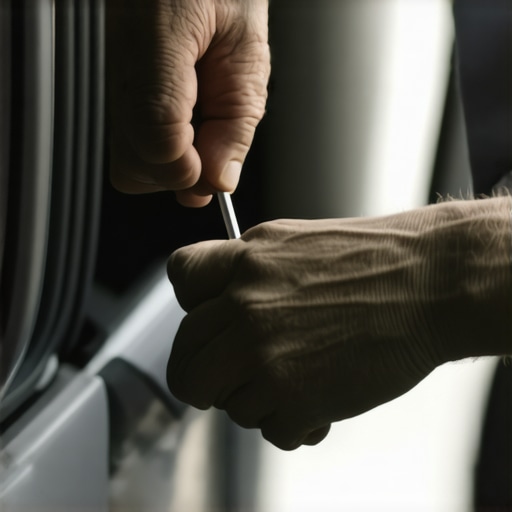
It always happens on the brightest, most blinding morning of the year. I was merging onto the interstate, squinting against a harsh glare, when I reached up to pull down my driver’s side visor. I adjusted it to block the sun, let go, and… flap. It dropped right back down, completely blocking my view of the road ahead. I pushed it up. It fell down again. I ended up driving ten miles with one hand awkwardly holding a piece of cardboard against my windshield just so I could see where I was going. It was incredibly frustrating, highly unsafe, and looked completely ridiculous to passing drivers.
The Direct Threat of a Drooping Visor
A sagging sun visor is one of those minor annoyances that quickly escalates into a genuine safety hazard. We often obsess over major maintenance tasks like choosing a high-quality brake service, keeping up with schedule interval car service checks, or monitoring the health of our transmission. However, when your vision is suddenly blocked by a piece of floppy plastic and cardboard while driving at 70 mph, nothing else matters. According to NHTSA crash data reports, glare is a contributing factor in thousands of accidents annually, making a fully functional visor a critical safety component rather than a luxury amenity. Today, we are going to walk through exactly how to diagnose the root cause of this annoying problem and explore how you can secure that visor back into its proper position permanently.
Is a quick DIY repair actually worth the hassle?
I will admit that when this first happened to me years ago, I made a classic rookie mistake. I grabbed a roll of heavy-duty duct tape from my garage and taped the entire visor arm to the headliner. Sure, it stayed up, but the moment the sun shifted to my side window, I was completely out of luck. I couldn’t move the visor at all, and when I finally peeled the tape off, it left a sticky, ugly residue that ruined my car’s interior fabric. That was a lazy fix that ignored how the mechanism actually works. You do not need to resort to ugly tape, expensive dealership replacements, or professional collision renewal strategies to get your visor working like new again. Most of the time, the fix requires nothing more than a screwdriver, a little tension adjustment, or a cheap clip. Have you ever tried to temporarily prop your visor up with a clothes pin, or did you just live with the annoying droop for months? Let me know in the comments below, and let’s get ready to dive into the step-by-step physical repair methods.
Tighten the Base Screws First
Before you run to an auto parts store or start looking up the ultimate guide to auto repair, you need to check the easiest potential failure point: the mounting bracket. Over years of pulling the visor down and pushing it back up, the small screws anchoring the visor assembly to your car’s roof can slowly vibrate loose. When this happens, the entire housing wobbles, and the internal tension arm loses its leverage point. Grab a small flathead screwdriver to gently pry off the plastic trim cap covering the mount. Underneath, you will usually find two or three Phillips-head screws or Torx screws. Give them a firm twist clockwise. I remember doing this on my old sedan, convinced I needed a whole new assembly, only to find that two seconds of tightening the screws completely cured the wobble. It was as satisfying as fixing a door handle that feels loose or sticky with a single drop of lubricant.
Add Friction to a Worn-Out Swivel Elbow
If the mounting base is rock solid but the visor still swings downward like a wet noodle, the problem lies in the swivel elbow joint. Inside that little plastic elbow is a tension clip that keeps the metal bar tight. When that clip stretches out, the friction disappears. Think of it like a worn-out ball joint in your suspension; without resistance, everything just flops around. To fix this without buying new parts, you can artificially restore that friction. A classic trick is to use a small rubber band or a tiny piece of heat-shrink tubing. Slide the rubber material over the metal rod right where it inserts into the plastic visor sleeve. When you push the rod back into its housing, the rubber compresses, creating the perfect amount of resistance to hold the visor at any angle you want.
The Tightening Collar Method for Adjusting Tension
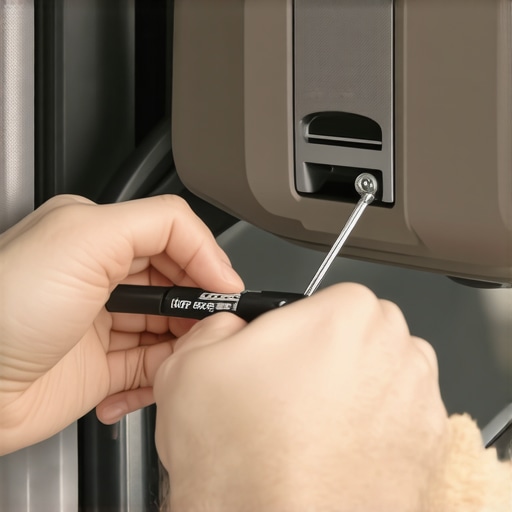
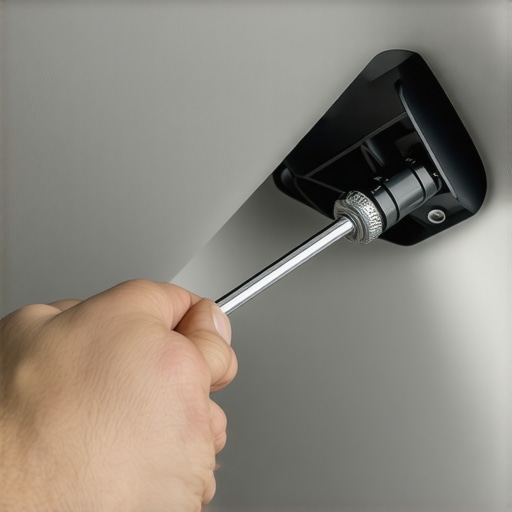
Some vehicle manufacturers actually design their visors with an adjustable tension collar directly on the rod. If you look closely at the point where the rod enters the visor body, you might see a tiny screw or a notched plastic ring. If your car has this, you are in luck. You can use a small pair of needle-nose pliers or a precision screwdriver to turn this collar clockwise. This squeezes the internal sleeve tighter around the metal rod. It is a highly effective, factory-approved adjustment that works similarly to tightening a loose cable or adjusting the calipers during a professional brake service to restore perfect physical grip.
When a Replacement Clip is Your Only Way Out
Sometimes, the internal plastic teeth inside the visor sleeve simply snap off due to age and heat exposure. No amount of rubber bands or screw tightening will save a completely shattered plastic socket. When this happens, the most reliable and cleanest-looking option is to install an aftermarket visor clip or tension sleeve. These are cheap, model-specific plastic clips that snap over the outside of the visor arm joint, squeezing the sleeve from the outside to restore structural integrity. It is a quick five-minute upgrade that saves you from having to replace the entire headliner-mounted assembly, keeping your interior looking factory fresh without unnecessary expense.
Now that we have covered the physical mechanics of securing your drooping visor, let’s dig deeper. Many drivers believe that once the physical flop is corrected, their driver-side visibility issues are completely solved. In my years of diagnosing interior cabin issues and managing broader the ultimate guide to auto repair checklists, I have noticed a highly common myth: people assume a sun visor is just an independent piece of plastic. In reality, your sun visor is an active safety component that works in tandem with your entire forward-facing optical field, which includes your windshield, rear-view mirror brackets, and even your vehicle’s structural alignment.
The Critical Link Between Cabin Vibrations and Your Visor
Here is a contrarian view that most standard mechanics won’t tell you: if your sun visor keeps falling down even after you tighten the screws or apply a tension sleeve, the visor itself might not be the real culprit. In my experience, chronic visor failure is often an early warning sign of excessive cabin vibration. When your tires are out of balance or your engine mounts are deteriorating, they send high-frequency micro-vibrations through the steering column and up into the A-pillars. Over time, these vibrations act like a tiny jackhammer on your visor’s delicate plastic teeth. If you find yourself constantly fixing the same joint, you should stop looking at the headliner and start investigating why your car vibrates specifically when you hit 65 mph. Fixing the underlying harmonic vibration will save your visor, your sanity, and ultimately protect your suspension from premature wear.
Are you ignoring the real cause of your cabin rattles?
A major mistake I see DIYers make when attempting a visor repair is over-tightening the mounting brackets into the sheet metal of the roof. People think that cranking the screws down with brute force will stop the wobble permanently. However, the sheet metal behind your headliner is incredibly thin. If you over-tighten those screws, you can easily strip the threaded metal inserts or crack the delicate plastic base plate of the visor itself. Once those factory threads are stripped, getting any screw to hold securely again becomes an absolute nightmare. A study by the National Institute for Automotive Service Excellence (ASE) highlights that over-torqueing fasteners on interior trim is one of the leading causes of squeaks, rattles, and component failure post-repair. Always tighten until snug, but never force it past its natural stopping point.
We also need to consider how a loose cabin component impacts your overall driving focus. Much like ignoring a worn-out transmission slip or delaying your regular car service checks, letting small interior annoyances slide leads to distracted driving. When you are constantly reaching up to adjust a failing visor, your reaction time slows down dramatically. If you ever have to slam on your brakes, you want to make sure your eyes are on the road, your visor is secure, and you aren’t suffering from a brake pedal goes all the way to the floor scenario due to neglected brake maintenance. Have you ever fallen into this trap of ignoring a small rattle until it turned into a major safety hazard? Let me know in the comments below!
When we look at the lifecycle of cabin components, ignoring the health of your sun visor is a lot like ignoring early signs of transmission slipping. You might think it is just a minor annoyance, but ignoring cabin details eventually compromises your vehicle’s safety. To avoid recurring visor failures, I highly recommend keeping a dedicated interior toolkit in your glove compartment. Personally, I use a precision non-marring plastic pry tool set and a 4V cordless screwdriver with low-torque clutch settings. The non-marring pry tool prevents you from gouging your headliner or cracking the delicate plastic screw caps, while a low-torque electric driver prevents the catastrophic over-tightening that strips out thin sheet metal roof mounts.
How do I maintain my sun visor over time?
To ensure your visor never drops unexpectedly on a bright morning, establish a quick preventive routine during your regular car service checks. Every six months, gently apply a tiny drop of dry silicone lubricant to the swivel elbow joint and rotate the visor back and forth. Avoid using wet lubricants like WD-40, which can attract cabin dust, degrade the surrounding plastic, and stain your headliner fabric. Additionally, whenever you schedule your standard brake service or tire balancing, check to see if your steering wheel or dashboard rattles. Addressing these early chassis vibrations stops the micro-shocks that slowly destroy your visor’s tension clips.
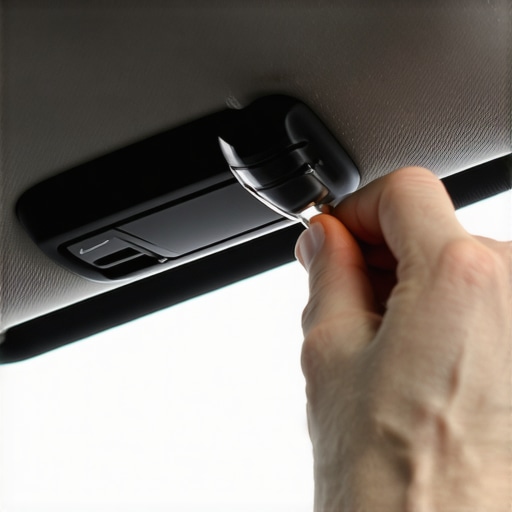
Looking ahead, the automotive industry is shifting away from purely mechanical friction joints. In many premium electric vehicles, we are beginning to see magnetic-assist latching mechanisms and electronically controlled visor hinges that adjust resistance based on cabin temperatures. Until those smart systems become standard in every vehicle, maintaining physical tension is your best defense. For professional-grade alignment standards, the Society of Automotive Engineers (SAE) International provides detailed technical guidelines on interior cabin fasteners and vibration-damping materials. If you want to keep your car looking pristine without costly collision renewal strategies, taking care of these small interior components is a great place to start. I highly encourage you to go out to your car today, pop off that plastic cover plate, and snug down those base mounting screws before your next commute.
3 Myths About Sun Visor Failure That Held Me Back
For years, I believed that a drooping visor was simply an inevitable sign of an aging car interior that required a costly trip to the dealership. That was my first major mistake. The first myth is that you must replace the entire fabric-covered assembly when the tension fails. In reality, the internal sleeve is almost always the only part that has worn down, which can be easily corrected with simple physical friction modifications. The second myth is that heavy-duty adhesives or industrial-strength tape are acceptable long-term solutions. All these do is ruin your headliner and prevent you from utilizing the visor’s side-swivel safety function. Lastly, many drivers assume that a loose visor is completely independent of their car’s mechanical health. As someone who has spent decades diagnosing odd cabin rattles, I can tell you that a visor that won’t stay up is often the first warning sign that your car vibrates specifically when you hit 65 mph. When your tires are out of balance or your suspension is compromised, those constant micro-vibrations travel straight up the pillars and shake your interior trim pieces loose.
My Essential Toolkit for Interior Cabin Tuning
You do not need a garage full of heavy machinery to tackle this fix, but having the right specialized tools makes a massive difference in the quality of your results. I always keep a small organizer in my glovebox dedicated to interior preservation. First, grab a set of non-marring nylon pry tools; these allow you to pop off delicate plastic screw covers without gouging your dashboard or tearing the fabric headliner. Second, keep a precision screwdriver set on hand, as many modern manufacturers hide tiny Torx or hex screws inside the visor brackets. Finally, I highly recommend a roll of high-friction silicone wrap or heat-shrink tubing rather than sticky adhesives. These tools will also come in handy if you ever need to figure out how to fix a dashboard that rattles over every bump or tighten up loose trim pieces that distract you while driving.
Take Control of Your Driving Sightline Today
A clear, unobstructed view of the road is the absolute foundation of safe driving. It is easy to ignore a slightly sagging visor, just as many drivers temporarily ignore the warning signs of a soft pedal before seeking a professional brake service. However, small details impact your overall focus and safety on the road. Taking twenty minutes this weekend to tighten your mounting brackets or add a tension sleeve to your visor rod will instantly make your daily commute safer, quieter, and far less stressful. Do not let a minor physical annoyance turn into a major safety hazard on your next highway trip. Have you ever tried to fix a drooping sun visor only to have it fall back down on the highway? Let me know what method worked for your car in the comments below!