
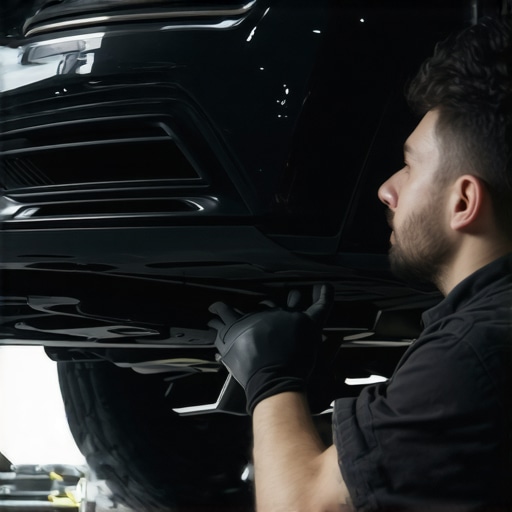
Ever spent hours trying to line up your bumper after a minor collision, only to end up frustrated with uneven gaps and a look that screams DIY disaster? I remember that sinking feeling well. I had just gotten my car back from a repair, and the bumper looked… slightly off—tiny misalignments that nagged at me every time I park in front of my house. I realized I wasn’t alone in this frustration, and more importantly, I found a way to fix it—one that saved me money and restored my pride in my ride.
The Real Issue Behind Misaligned Bumper Brackets
The problem with bumper misalignment isn’t just cosmetic. It can affect aerodynamics, safety sensors, and even the longevity of your repair investment. Usually, it all comes down to how well the bumper brackets—those unseen yet crucial components—are positioned and secured. When collisionrenew aligns them properly, it creates that factory-perfect look we all crave. But it’s easy to overlook the significance of precise bracket placement, especially if you’re eager to hit the road quickly.
Is Collisionrenew Alignment Actually Worth the Hype?
Early in my DIY journey, I made the mistake of assuming that any alignment would do. Guess what? I ended up with slightly crooked bumpers and had to redo the whole thing. It’s tempting to chase quick fixes, but I soon learned that proper alignment makes all the difference—both in appearance and in protecting your vehicle’s structure. According to auto repair experts, accurate bumper bracket positioning can extend the lifespan of your repair and prevent future issues. So, does a proper alignment justify the effort? Absolutely.
If you’ve ever faced a bumper that just wouldn’t sit right or felt unsure about tackling the task yourself, stick around. I’ll walk you through the practical steps to achieve that perfect, factory-like appearance—saving you headaches and extra trips to the shop. Ready to transform your repair experience? Let’s dive into how collisionrenew aligns those bumper brackets with precision and confidence.
Secure the Vehicle and Gather Your Tools
Prioritize safety by parking your car on a flat surface and engaging the parking brake. Gather essential tools: Jack stands, socket wrenches, screwdrivers, a flashlight, and protective gloves. I once almost skipped the gloves, but a sharp edge on the bracket taught me the importance of protection, saving me a nasty cut.
Remove the Bumper Carefully
Loosen mounting bolts holding the bumper—usually along the top, bottom, and sides. Gently disconnect any attached wiring or sensors, noting their positions. During my first attempt, I ignored sensor disconnects, which caused reinstallation delays. Patience is key to avoid cracking the bumper or damaging wiring.
Inspect the Brackets and Mounts
Examine the brackets for cracks, rust, or deformation. Use a flashlight to check for hidden damages. I found a bent bracket that was the root cause of my misalignment, which I replaced to achieve a cleaner look, referencing restoring your car to perfection.
Adjust the Brackets’ Position
Loosen the Brackets Slightly
Loosen the mounting bolts enough to allow movement but do not remove them entirely. This step is like adjusting a picture frame—small tweaks lead to perfect alignment. I used a wrench to lightly loosen mine, making sure I could reposition without stripping threads.
Align the Bumper Gaps
Carefully shift the brackets to align the bumper with fenders and body panels. Use a tape measure or straightedge to ensure consistent gaps on both sides. Remember, tiny adjustments make a big difference; I spent a few extra minutes tweaking, which resulted in a seamless fit.
Secure the Brackets Firmly
Once satisfied with the alignment, tighten the bolts incrementally in a crisscross pattern to evenly distribute tension. Doing this prevented the brackets from shifting during tightening. My meticulous approach avoided future misalignments, and I checked the gaps repeatedly before proceeding.
Reattach and Test the Fit
Reconnect any wiring or sensors, ensuring no wires are pinched or stretched. Carefully fit the bumper back onto the brackets, applying gentle pressure to snap it into place. I paused to double-check every clip and bolt, as rushing could undo all the effort. This step mirrors the precision needed in transmission alignment—every detail counts.
Final Checks and Adjustments
Lower the car if raised and verify the bumper’s position from multiple angles. Walk around observing the uniformity of gaps; small imperfections are normal, but major misalignments need correction. I observed a slight tilt, so I adjusted one bracket slightly more before tightening fully. Regular inspections keep your alignment spot-on for the long haul.
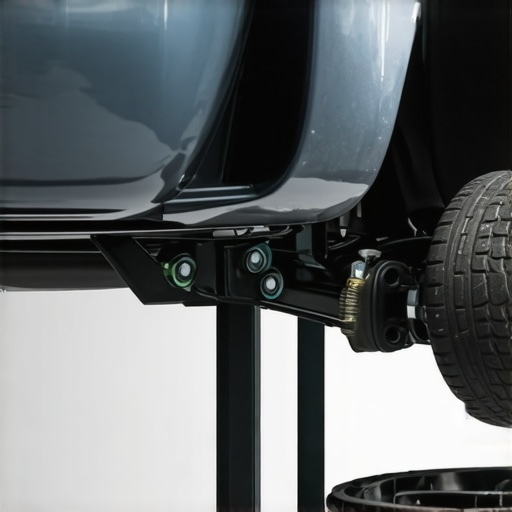 Many car owners operate under assumptions about collisionrenew and auto repair that can lead to costly mistakes. One pervasive myth is that regular brake pad replacements alone ensure your braking system is fully functional, but neglecting to check brake fluid quality and caliper condition can compromise safety. Experts emphasize that comprehensive brake service, including fluid analysis, extends brake lifespan and performance, as detailed in this guide. Another misconception is that transmission fluid lasts forever; however, contamination and breakdown can silently cause shifting issues. Advanced diagnostics, like those discussed here, reveal that regular fluid exchanges are vital for long-term transmission health. A common error is assuming that a one-time repair fixes all; in reality, neglecting the nuanced variables such as sensor calibration or software updates can trigger persistent warning lights or performance drops. Proper auto repair isn’t just about replacing parts; it’s about understanding the intricate interplay of components and systems. To truly master vehicle maintenance, recognize that superficial fixes often mask deeper issues, and skimping on diagnostic accuracy can lead to recurring problems. Do you fall into this trap of oversimplification? Share your experiences in the comments. Remember, better knowledge leads to smarter decisions—visit our comprehensive guide to elevate your auto care routine.
Investing in Quality Tools for Long-Term Auto Care
Keeping your vehicle in top condition requires more than basic supplies; it demands specialized tools designed for precision and durability. I personally recommend a high-quality torque wrench, as it ensures bolts are tightened to manufacturer specifications, preventing over-tightening or under-tightening that can lead to component failure. Additionally, a digital multimeter is invaluable for diagnosing electrical issues accurately, saving time and avoiding costly visits to the mechanic.
When working on complex systems like the transmission or brakes, a basic scan tool can help you read error codes and understand underlying problems without guesswork. I prefer the Autel MaxiCOM, because of its comprehensive diagnostic functions and user-friendly interface. Investing in reliable tools not only makes repairs more effective but also extends the lifespan of your vehicle by ensuring components are maintained properly.
Efficient Maintenance Techniques That Pay Off
Consistency is key in vehicle maintenance. Establishing a schedule based on your car’s manufacturer recommendations, like regular brake fluid analysis or transmission fluid exchange, keeps systems functioning optimally. For instance, I perform a brake fluid check every 20,000 miles, which helps prevent costly caliper replacements down the line.
Another effective method I suggest is conducting visual inspections during routine washes. Look for signs of wear, rust, or leaks; catching issues early can save significant repair costs. Modern diagnostic software, such as the comprehensive auto repair guide, emphasizes the importance of pairing regular inspections with data-driven diagnostics for best results.
The Future of Vehicle Maintenance and Scaling
Advancements in telematics and AI-driven diagnostics are transforming auto care. In the near future, expect vehicles to self-report issues through connected sensors, prompting proactive maintenance. As DIY enthusiasts, embracing these innovations means investing in tools that integrate with smartphone apps for real-time health monitoring. This trend will make maintenance more accessible, precise, and long-lasting, reducing the need for reactive repairs.
How do I maintain my vehicle’s safety and performance over time?
Prioritizing routine maintenance, employing the right diagnostic tools, and staying informed about technological advances are crucial. For example, regularly checking your collision renewal sensor accuracy after minor impacts ensures safety features like collision sensors function correctly. I challenge you to use an advanced diagnostic tool on your next oil change to identify lurking issues early. Doing so can prevent unexpected breakdowns and keep your car running reliably for miles to come. For tailored advice, don’t hesitate to reach out via our contact page.
Secrets Only Repair Pros Often Keep to Themselves
One of the toughest lessons I’ve learned about collisionrenew and auto repair is that rushing through bumper adjustments can lead to more frustration and costs down the line. I once thought I could eyeball the alignment, but tiny miscalculations resulted in crooked gaps and a look that screamed amateur. The real pro tip? Use precise measurements and double-check your work—trust me, it’s worth the extra time.
Tools That Turn DIY into a Victory
Over the years, I’ve compiled a toolkit that includes a high-quality torque wrench, a digital multimeter, and a good set of long-handled sockets. These tools have transformed my approach to auto repairs from guesswork to confidence. For instance, tightening brackets to the correct torque prevents future misalignments, making your bumper look perfect for years to come. I personally swear by the essential car service checks that keep my vehicle running smoothly.
Building Confidence Beyond the Garage
The biggest revelation? Patience and precision lay the foundation for successful repairs. Instead of rushing to finish, take a step back, assess your progress, and measure twice before tightening bolts. This mindset has helped me not only fix bumpers but also maintain a sense of pride and ownership over my vehicle’s appearance. Remember, each successful repair boosts your confidence—so don’t shy away from taking on more challenging tasks once you’ve cracked the code.
Your Turn to Take Action
If you’ve ever struggled with aligning your bumper or hesitated to try a repair yourself, I encourage you to give it a shot. With the right tools, a bit of patience, and a focus on detail, you can achieve professional results and save money. What’s the one repair you’ve been putting off because it seemed daunting? Share your experiences below, and let’s learn together!